
8 Steps to Program Garage Door Opener In Car Without Remote
Today, almost all garage doors are opened by using a remote controller that transmits a signal to the doors for them to open. But what if you wanted to program your garage door and set it up so you don’t need a remote?
Yes, it is possible. The whole process of connecting a garage door opener to your car without using a remote can be done easily. And the good thing is that you don’t need to be an expert in programming.
How is this possible? Most cars already have buttons installed inside them. These buttons need to be synchronized to work with your garage door. You will find that some cars on their control panel have multiple buttons, so you can even use multiple garage doors. In this article, we’ll explain how to program them. So, let’s start.
Table of Contents
How To Program Garage Door Opener Without Remote
So How to Program Garage Door Opener In Your Car Without a Remote? To program a garage door opener without a remote, you first must ‘clear’ the old memory on your buttons. The next step is to set a new car button and press the ‘learn code’ button on your garage door opener. Lastly, go to your car and confirm 3 times the button with which you want your garage doors to work.
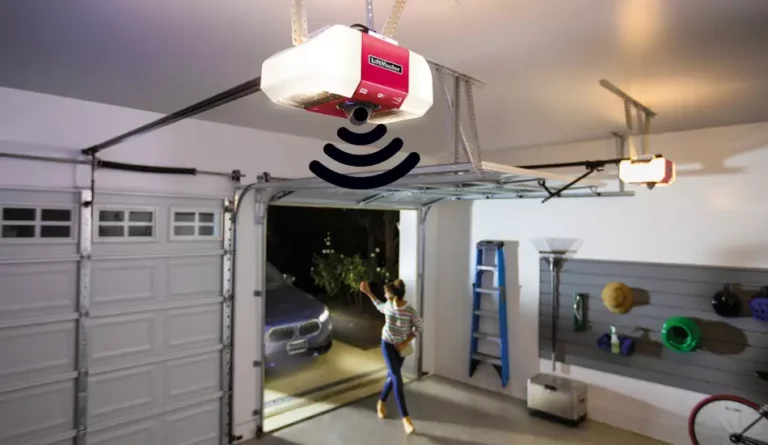
There are a few ways on how you can program a garage door opener and connect it remotely to your car. It all depends on whether you are using a built-in controller that is installed in your car or just a remote controller. These devices are usually installed on your car ceiling or near the control panel. In the following chapters, we will explain each step in detail. So don’t worry!
If you are looking to buy one, we recommend checking this garage door opener model: Genie StealthDrive Connect.
8 Easy Steps To Program Garage Door Opener Without Remote:
| Steps To Program Garage Door Opener | Description |
|---|---|
| Step 1: Find The Garage Door Control Panel | Just look for your garage door control panel. |
| Step 2: Study The Control Panel For A Few Minutes | Understand which button is for what. |
| Step 3: Clean The Old Memory | Before you program the new button, clear the old memory. |
| Step 4: Program The New Button In Your Car | Select the new button that you want to use. |
| Step 5: Press the “Learn Code” Button | On your garage door opener, click on the ‘learn code’ button. |
| Step 6: Complete The Process By Confirming The Button | Now you need to confirm that new button. |
| Step 7: Test Your Programmed Button In Your Car | Just test it, and see if everything is working normally. |
| Step 8: Store your Remote Controller Safely | You can now store your remote in a safe place. |
Here, you can see all the steps you need to do to program your garage door opener. Everything will be explained in much more detail below, so keep reading. For those who want to know more, you can also read this interesting article: How Much Electricity (kWh) Does a Garage Door Opener Use.
How Does a Garage Door Communicate With Your Car?
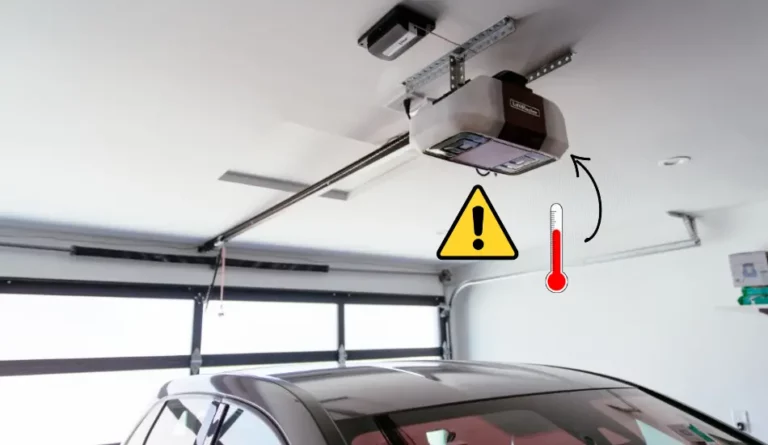
First, you need to understand that there is no “general” garage door opener. Most garage door openers are controlled by a central computer (board). This means that garage door openers work by using a remote that can be installed in your car or carried by hand. Remote sends a signal to a receiver that is built into the garage door opener unit.
Garage door openers operate at a certain frequency (usually 315 or 390 MHz). Once the receiver on that unit receives a radio signal, it triggers the door to open or close. Sometimes, it can happen that your remote doesn’t trigger the doors to open/close. In that case, the reason can be the interrupted radio signal. The most common cause for this is that your remote needs a new battery. This is a simple fix. Just buy new batteries.
Related Article: Can a Universal Garage Door Remote Open Any Garage Door?
How To Program Garage Door Opener In Car Without a Remote
Step 1: Find The Garage Door Control Panel
The first step is to check what type and model of garage door opener you have. You can use the user manual to find out the model and see where the buttons are located. Also, look for the built-in buttons in your car.
Since each differs in design and functions, it is necessary to see does it have a ‘program’, ‘learn’, or similar button on its keypad. Remember that these buttons are usually located above the driver’s seat. Some keypads beside number buttons also have letters. Once you have found the keypad buttons, we can move on to the next step.
Note! This also applies to the HomeLink garage door openers.
Step 2: Study The Control Panel For A Few Minutes
Now that you have found out what type of garage door opener model you have, the next step is to study it to see which button is for what. We recommend that you use your garage door opener user manual to see the key details of your controller.
As noted, your garage door control panel will likely have a “program” or “learn code” button on it. The goal is to erase previous parameters and program new ones. But before you start, you must understand which key is for what.
Step 3: Clean The Old Memory
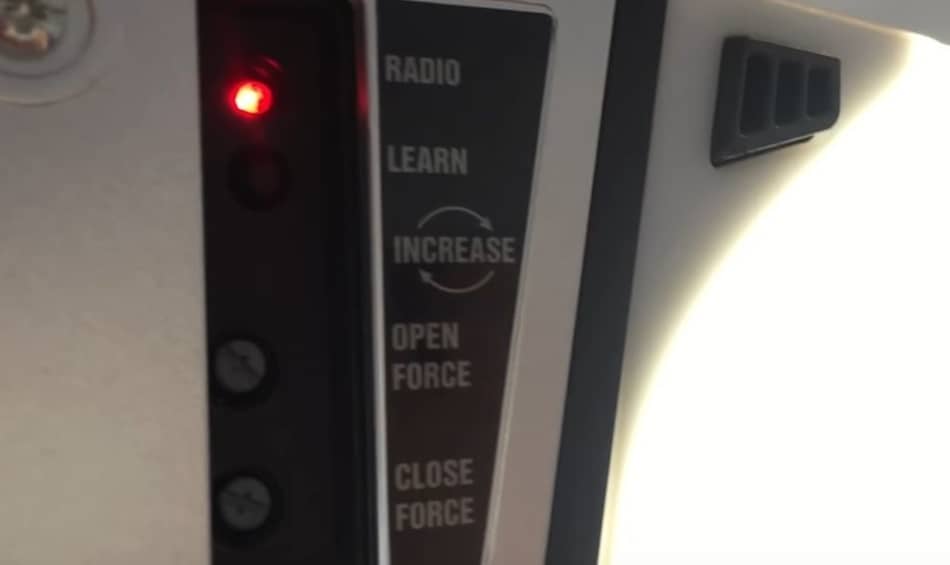
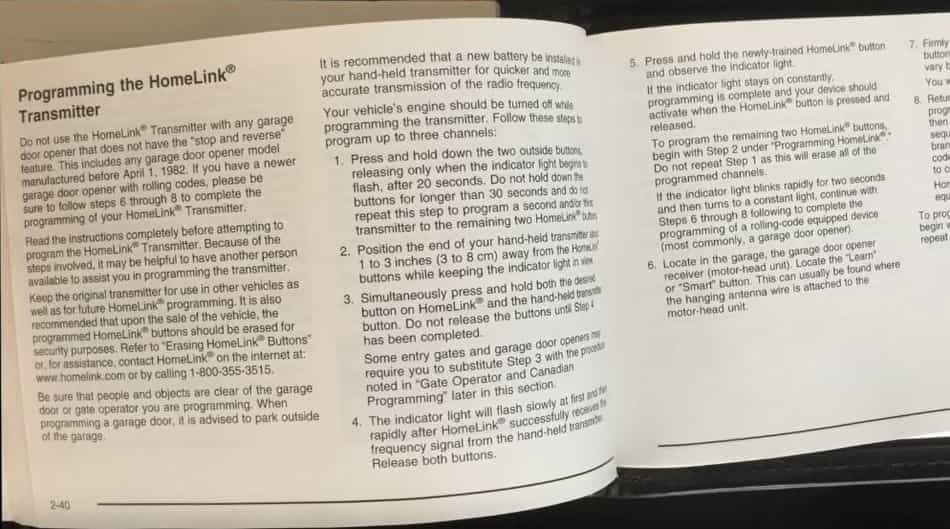
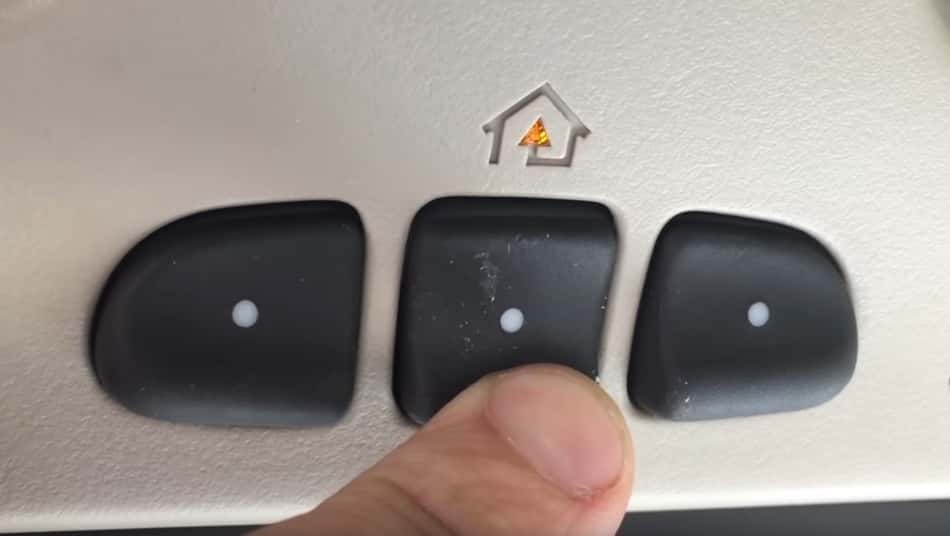
Now, you must get in your car and clear out the previous memory on your buttons. You will do this by pressing and holding the first and third buttons on your panel for a few seconds. The LED light (usually red) will come on as you hold the buttons.
Keep holding until the LED light starts flashing. It can take 5 to 20 seconds, depending on your type and model. After you notice the light flashing, let go of the buttons. Congratulations, you have now cleared the old memory.
Note! You can now test it, to confirm that you have done everything correctly. To do this, press the first button to see if your garage door will open. The garage door should not open!
Step 4: Program The New Button In Your Car
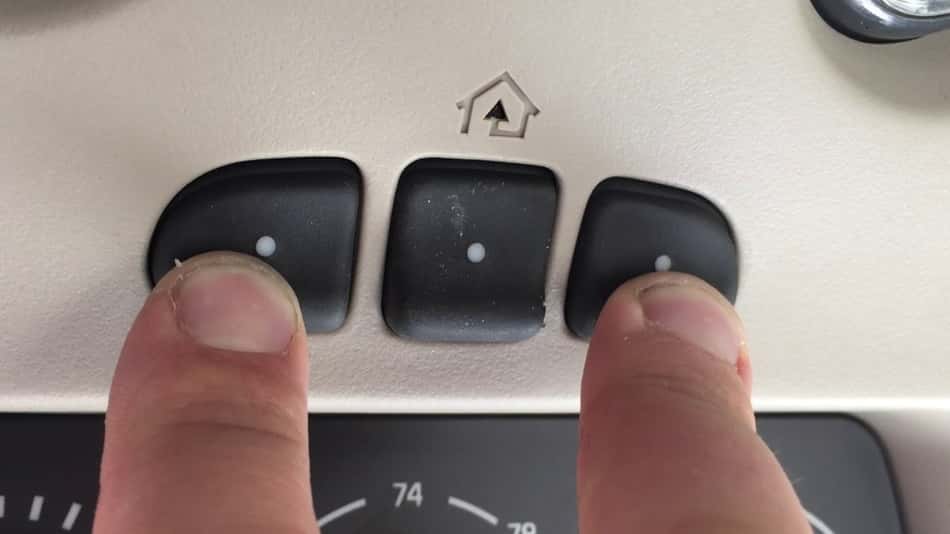
The next step is to use your garage door opener remote to program the new button in your car. Select the button with which you want the garage door to open and at the same time press that car button with the remote control button. Continue to hold it until the LED light (red light) starts to flash. When you see the flash, you can stop. You’re almost done.
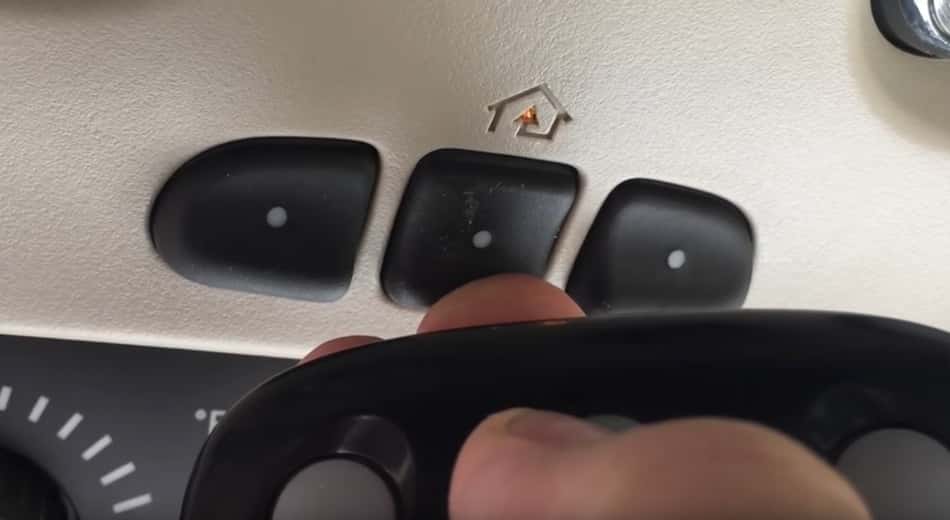
Step 5: Press the “Learn Code” Button
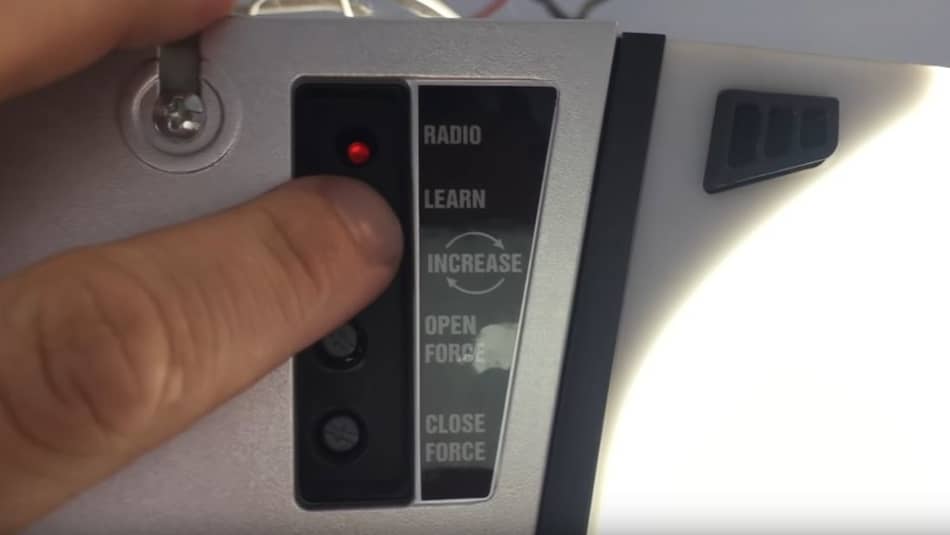
Get in your garage and find the garage door opener. Now, you must look for a ‘program’ or ‘learn code’ button. Usually, they are located on the back of your garage door opener. Once you find that button, press it. There will be an LED light that will start blinking once you press it.
Step 6: Complete The Process By Confirming The Button
After you click the ‘learn code’ button, you have around 30 seconds to finish this process. Go inside your car and press 3 times the button that you just programmed. This will connect your garage door opener to that button.
Once you do this, the garage doors should start closing. Also, ensure your car is at the right distance from the garage doors to work. The signal might not catch the door opener if the car is too far away.
Note! As mentioned above, some garage door openers come with a marked ‘program’ or ‘learn’ button. That button is usually located at the top of the keypad on the garage door opener.
Step 7: Test Your Programed Button In Your Car
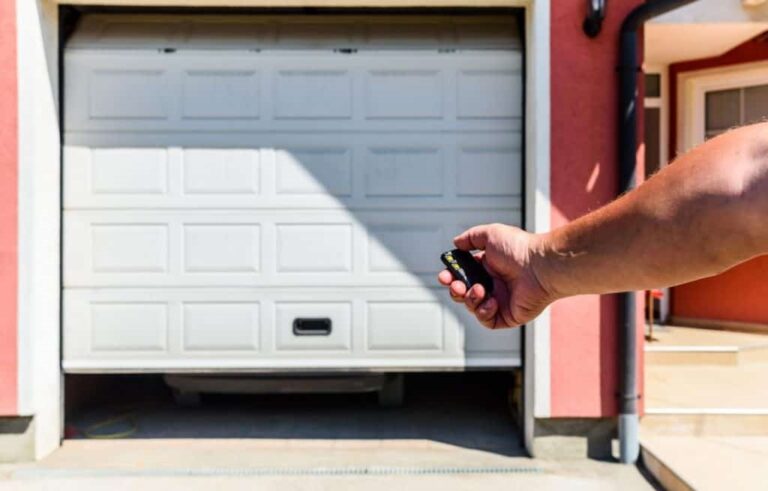
Now that you’ve completed the entire programming process, it’s time to test it and see if everything works normally. Get in your car, drive a little further from your house (garage), and on return, when you arrive in front of the garage, press the button you programmed to see if the garage door will open.
If everything is normal, then this is it. Congratulations, you now programmed your garage door opener with your car. As you can see, it is very simple, even for those who have never done this type of programming before.
Step 8: Store Your Remote Controller Safely

You will no longer need a remote transmitter once you have completed the entire process and successfully programmed your car buttons. But instead of getting rid of it, store it in a safe place because you may need it one day. If the buttons stop working, you will need a remote controller.
On the other hand, if something happens to your car (got stolen or used by someone else), they can easily use the remote controller. Don’t forget to remove the batteries from your remote so they don’t run out while stored.
If you want to see how this whole process looks, you can watch this great YouTube video.
Related Article: How Do Garage Door Sensor Work.
As you can see, these 8 steps to program garage door opener in car without remote is not a problem.
Be sure to check on Amazon; there are a lot of cool Garage Door Openers that are trendy on the market!
FAQ: People Also Ask
1. Can I Program Garage Door Opener To My Phone?
By using an app-integrated receiver, it is possible to program your garage door opener with your iPhone or Android smartphone. Several companies can wire receivers in the existing garage door opener, which allows you to pair it with an app that can be installed on your smartphone.
2. Can You Get A New Garage Door Opener Remote?
Getting a new garage door opener remote is possible by contacting the manufacturer. You just need to mention which model you are using so they can send you the appropriate remote for your garage door opener.
3. Can I Convert My Garage Door Opener To WIFI?
Almost every garage door opener can retrofit the Wi-Fi and MyQ with the system. If you want to connect MyQ with your smartphone, your garage door opener system must be connected to the internet.
4. Why Do Garage Door Remotes Have 3 Buttons?
Garage door remotes have 3 buttons placed on their remote one is used for opening, the other is for closing, and the third one is used to lock the garage doors.
5. What Frequency Does HomeLink Use?
Most garage door openers, including the HomeLink, work with a 315 MHz radio receiver frequency. The 310 MHz is a non-standard frequency anymore.
Final Thoughts
All in all, programming your garage door opener with your car, where you don’t need a remote, is a very easy process that everyone can do. Many garage door opener manufacturers already have user manuals on properly programming them with your car, so you don’t need to worry.
Although most of these products have an almost identical setup method, reading the manual and seeing each step would be advisable. Usually, most of these procedures require two to three setup steps. I hope this article has helped you, and if you have any additional questions, feel free to contact us.