
Garage Door Sensor Yellow Light Having Issues?
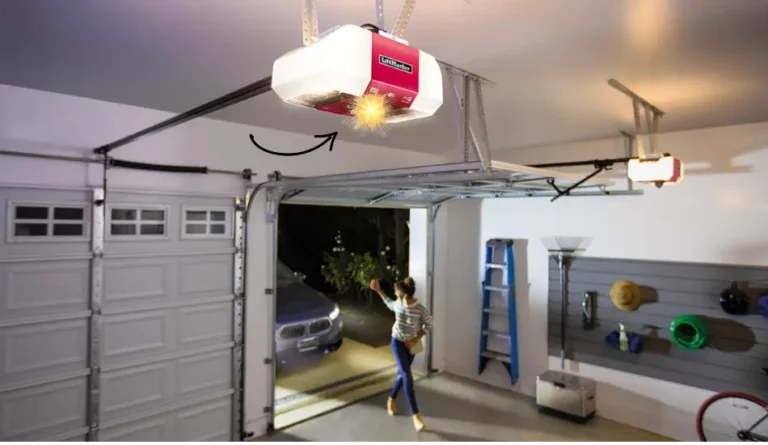
A lot of people who have garages have built-in garage door sensors. These safety sensors are used to prevent accidents that automatic garage door openers can cause. Therefore, it is very important to pay attention to them and check if they are working properly.
If you notice the green blinking light and the yellow light on your garage door sensors, you should check them. In this article, we’ll explain what causes this problem on sensors and what you can do. So, let’s start.
Table of Contents
What Does Yellow Light Mean On Garage Door Sensor?
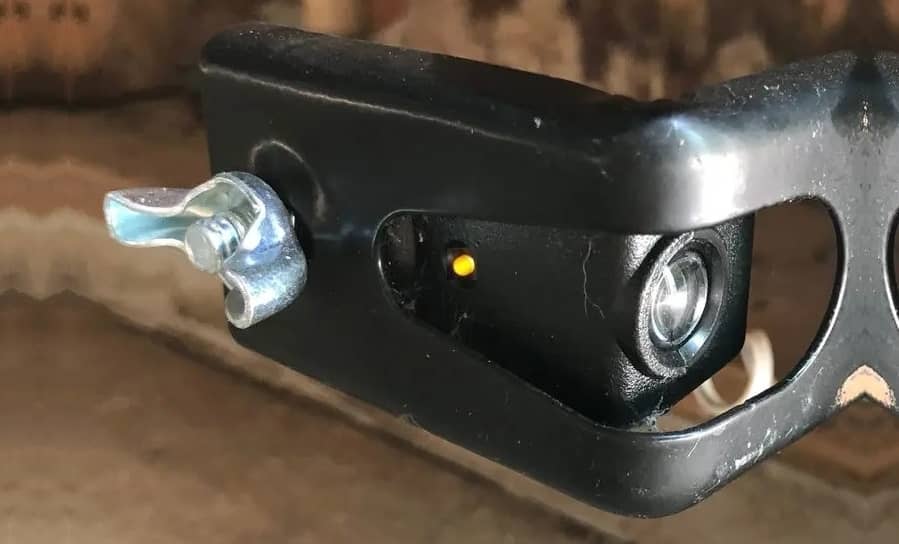
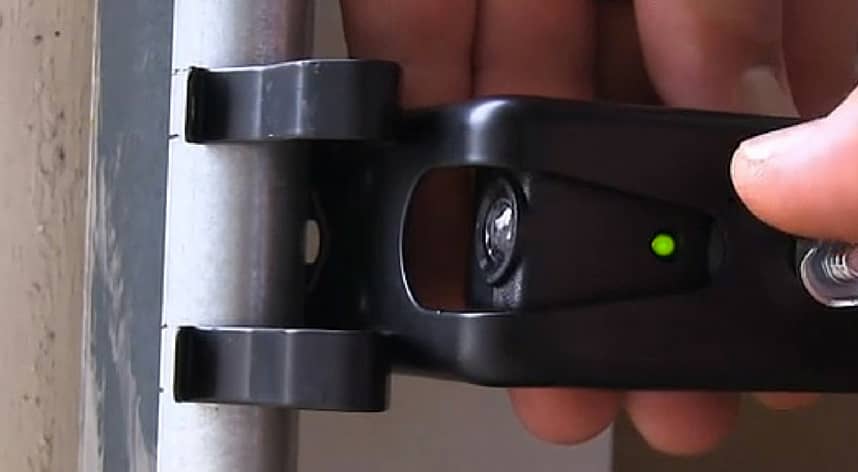
So What Does Yellow Light Mean On Garage Door Sensor? When the yellow (amber) light is turned on on the garage door sensor, the sending sensor works properly. Garage door openers come with two sensors where one has a green LED light, and the other has a yellow LED light. The yellow light shows that there’s no obstruction between these two sensors.
Each garage door opener has two sensors where one is the transmitter (that has a green light), and the other is the receiver (with yellow light). Therefore, it is very important that during installation, these sensors are placed at the same height and that nothing interferes with them so that they can function properly. Below, we will explain the main problems that may arise around them.
Related Article: How Do Garage Door Sensor Work
Garage Door Safety Eye Sensors
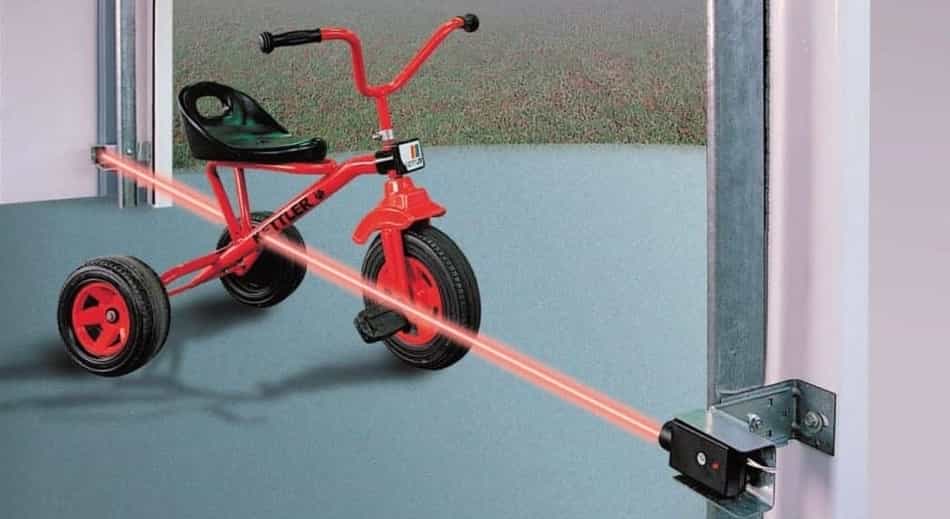
Since January 1993, all garage door openers must have built-in safety eye sensors. The main purpose of these sensors is to protect children and adults from unnecessary injuries. Garage door sensors are usually set about 6 to 8 inches (15 to 20 cm) from the ground.
This system consists of two sensors. One of them is a transmitter that sends an infrared beam of light, while the other sensor is a receiver that receives and reads that infrared beam of light. If some object or a person obstructs the infrared beam, you won’t see a yellow light on the transmitter, and the garage door will stop working immediately.
Note! The transmitter mainly has the yellow light, while the receiver sensor uses the green light. Together, those two lights (yellow and green) on the garage door sensor create a solid illumination.
How To Fix A Yellow Light On A Garage Sensor?
Now that you are more familiar with these sensors and why they are so important, we will go through some steps on how you can fix them. If you experience a problem with your garage sensors, try to resolve it by following the following steps:
1. Remove The Items That Block Safety Sensors
If a green blinking opener light appears on your sensor, something is likely blocking the safety sensors, or they are out of alignment. However, defective safety sensors and wiring can also be the reason why the garage door opener lights blink.
These sensors use an infrared beam of light to detect obstacles that are located between these two sensors to block the garage doors from closing. If there is something between these two sensors, the door will not close because the infrared beam light is blocked. Therefore, it is necessary to remove everything that is between them.
2. Problem With Sensor Alignment
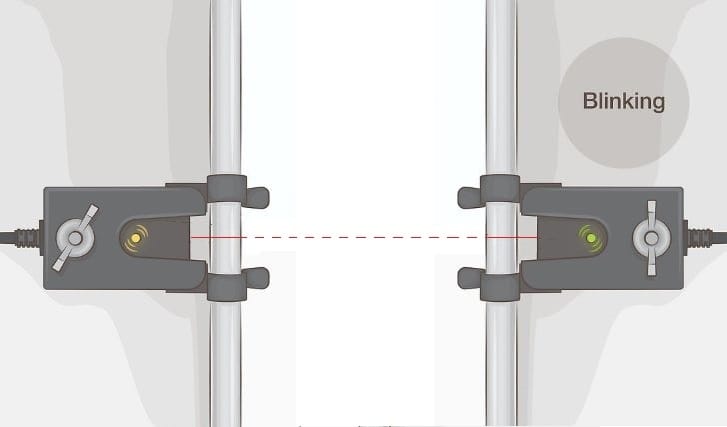
If nothing is blocking the garage door sensors, then it is probably the alignment problem. When solid illumination is not visible on the garage door sensors, it is probably a problem that the sensors are out of line. This issue is very easy to fix. First, you’ll need to get a wrench and a tape measure. Once you have these tools, do the following:
- First, check if your garage door sensors are at least 6 inches above the ground. Measure and note the exact height at which this garage sensor is located. For example, 6.55 inches.
- Next, go to the second sensor and measure its precise height. If the height differs from the other sensor, you’ll need to adjust it.
- Finally, to adjust the second sensor just loosen the wing nut by using the wrench and set the sensor to the same height at which the first sensor is. For example, 6.55 inches.
Once these steps are completed, the garage door opener should work normally, and an infrared light beam should appear. If it turns out that the problem still occurs and the green light is blinking, and the yellow light is still present then you should look for other solutions. One possible reason can be a spiderweb or dirt that blocks the sensor’s lens. Just clean the dirt if you notice it on the lens and that should be it.
If you want to buy new garage door sensors, we recommend this model, Sensors Beam Eyes for 41A5034.
3. Problem With Broken Or Damaged Sensor Wires
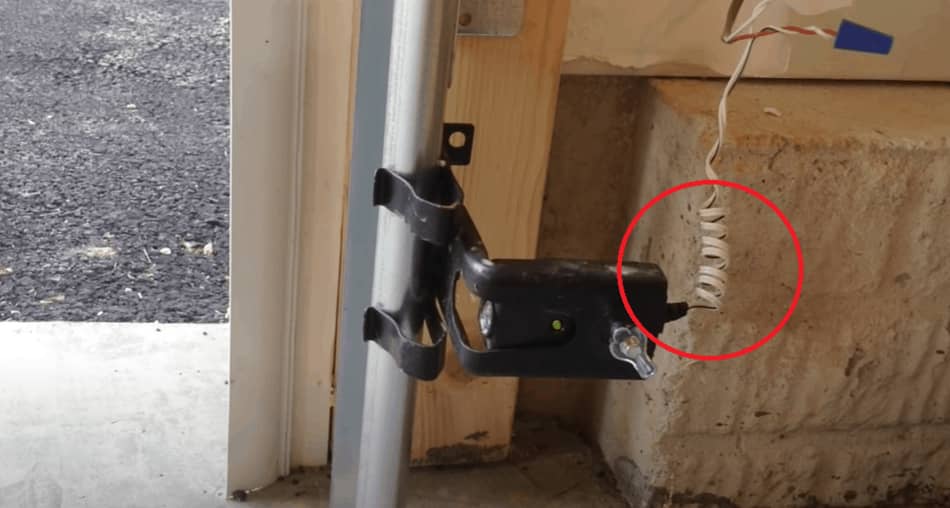
Now that you have leveled the garage door sensors at the same height and you have cleaned the dirt from the lenses, garage door sensors should work normally. But if the yellow light problem still occurs, the problem could be in the wiring. You probably won’t be able to see all the wiring that is routed through the walls, but you can check the wires that you can see.
Check both wires that enter the two sensors and inspect that the wires are not disconnected or damaged. If you see that the wires are disconnected, just reconnect them, but first, turn off your garage door opener. If the wires are damaged or worn out, you must replace them with new ones.
4. Replacing Old Sensors With New Sensors
If you checked the wiring, and everything is fine with the wires, and the garage door opener still doesn’t work, then the problem is definitely in the sensors. Like any electronic equipment, sensors can stop working after long use. The most common reasons are old age, contact with water, and constant exposure to sunlight.
Replacing the old sensors with the new ones can be done easily, and you do not need any previous experience. Once you have purchased the new garage door sensors and you have a wrench, you are ready to replace them. These sensors are not expensive, and you can easily find them in any home improvement store here on Amazon. The process of replacing the sensors is the following:
- Simply unplug your garage door opener.
- Loosen the wing nuts on your garage door sensors by using a wrench.
- Disconnect the sensors and simply take them off.
- Now, you need to attach the new sensors to the same place. Make sure they are at the same height.
- Lastly, by using the wrench, tighten the wing nuts on both sensors and connect them to the garage door.
Now that you have replaced the old sensors with new ones, your garage door opener should work normally. Here is also a great video that will help you understand garage sensors better and how to detect problems.
If you are interested in How Much Electricity (kWh) Does a Garage Door Opener Use, feel free to read this article. You will be surprised!
Related Article: Why Is Garage Door Opener Blinking? Expert Explain
Final Thoughts
As we mentioned, all garage door openers must have safety sensors to avoid accidents. Therefore, it is important that they work properly. There are two sensors, where one is a transmitter and the other a receiver. One of the sensors has a green LED light, while the other has a yellow LED light.
If the green LED light flashes, it means that there is a problem with the garage door sensor that needs to be solved. This article explains why this problem occurs, what it represents, and how to fix it. I hope you understand this topic better, and if you have any additional questions, feel free to contact us or leave the comment below.