
How to Make a Soundproof Cardboard Box?
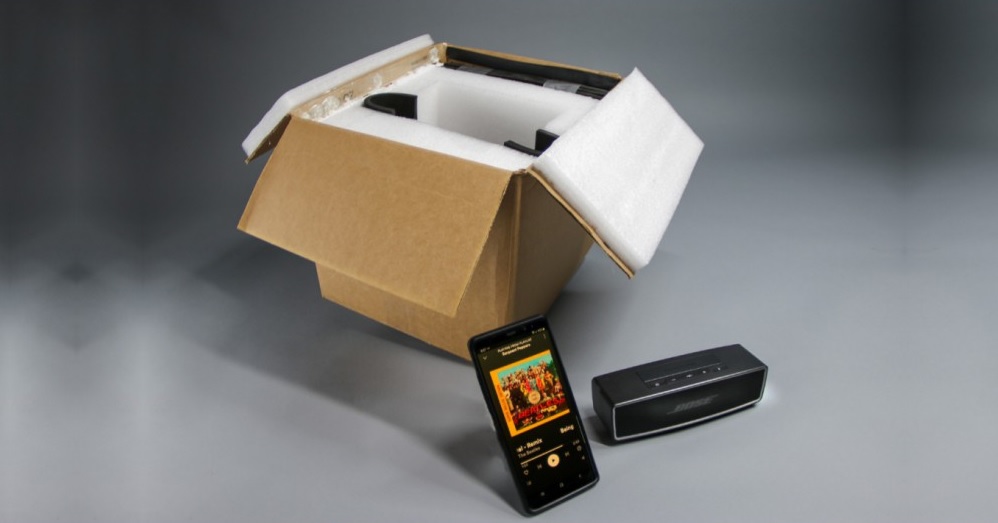
Soundproof cardboard box is a very popular DIY home project. You probably remember the term “Soundproof cardboard box” from high school when you had to make it for a science project. However, it is mostly used in the music industry. Placing a microphone and guitar amplifier in that box will reduce the noise in a room.
This soundproof cardboard box is a great option for those with a band and for musicians that do not have the budget to purchase professional equipment right away. The materials to make a soundproof box are the ones you probably already have in your home. In this article, we’ll explain how to make this soundproof cardboard box. So, let’s start!
How to Make a Soundproof Cardboard Box? First, find a suitable cardboard box and gather scissors, styrofoam, soundproofing material, and adhesive. To make a soundproof cardboard box, use Styrofoam and glue it on each side of the box and at the bottom. Lastly, on top of Styrofoam, add some soundproofing material you have on hand.
For simpler projects, cardboard material is alright, but soundproof boxes do not have to be made of cardboard. Even better, using plywood or MDF panels does a better job of soundproofing.
Because those materials are thicker, less sound can travel through their surfaces, making them more soundproof. If you want to learn more about box soundproofing and the exact steps to make one, continue reading.
Table of Contents
What Is a Soundproof Cardboard Box Used For?
Soundproof cardboard box is very popular today because it blocks sound waves from traveling indoors or outdoors. It is also a cost-effective solution that can be easily made. The most common use of these boxes is the following:
- For a school science project
- When music is recording: To place guitar amps and microphones
- Boost the sound of microphones and speakers
- To place smaller noisy machinery such as water pumps and generators
- Place juicers, blenders, or food processors while blending to make them quieter
How To Make a Soundproof Cardboard Box
Now that we have explained what a soundproof cardboard box is and what it can be used for, we will now describe how you can make one. We bring you a step-by-step guide:
Step 1: Pick All the Material Needed
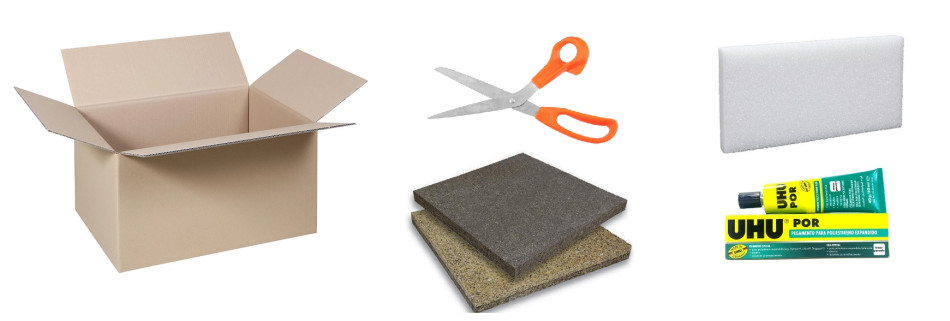
The first step is to gather all the necessary materials that you will need for this project. Here are all the materials you will need to build a soundproof cardboard box:
- A cardboard box
- A knife, scalpel, or scissors
- Styrofoam adhesive
- Styrofoam
- Soundproofing material (any type)
Usually, the results will depend on what kind of soundproofing material you choose. You can get these things in a local wood shop or tool store or even order them online. We recommend going to a wood shop or ordering the box online if you are very particular about the dimensions.
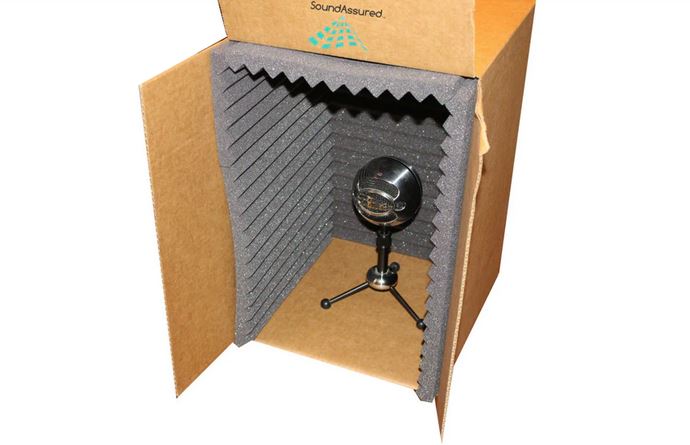
Step 2: Get a Cardboard Box
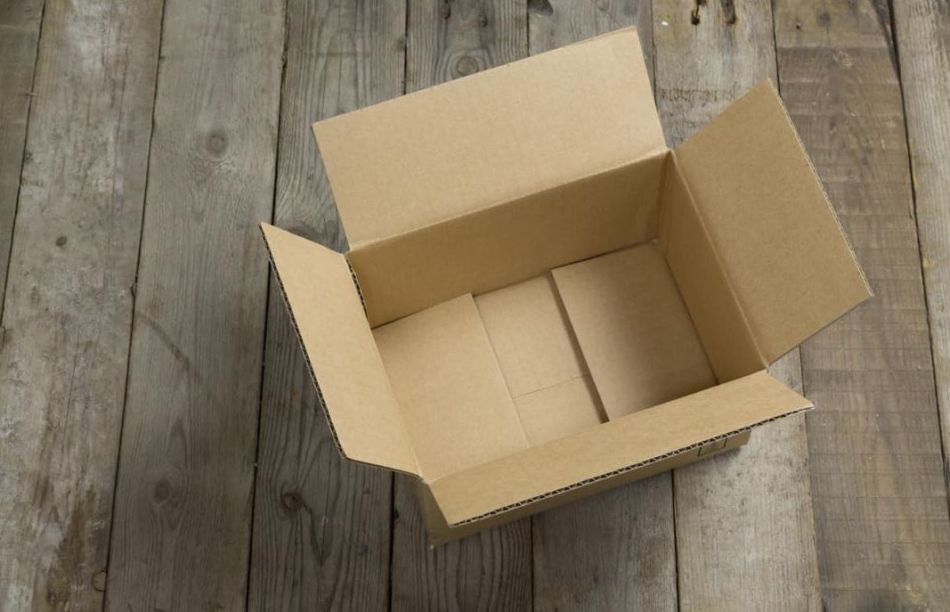
Cardboard boxes are easiest to get from retail merchants at their back doors. The dimensions of the box I used for this project are 22″ x 22″ (wide x high) and 18 inches deep. We suggest purchasing a cardboard box rather than making one yourself. Cardboard boxes are not expensive, and buying them will save you a lot of time and hassle.
If you want to make one, be sure to watch this video:
Places to purchase a cardboard box:
- Appliance store (good option for finding larger boxes)
- U-haul- (good for finding boxes with certain requirements)
- Tool store
- Woodshop
- Furniture store
- Retail merchants
- Online
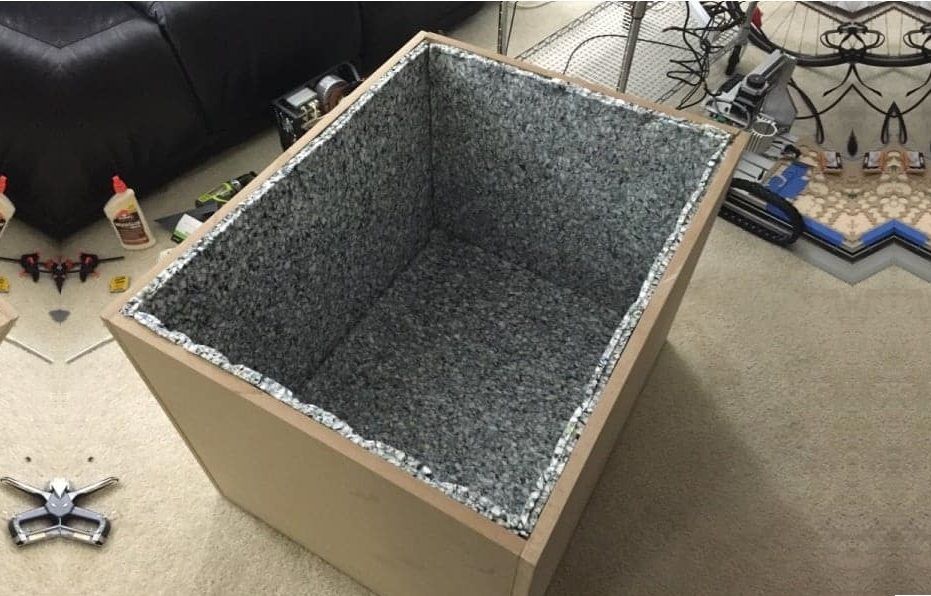
Step 3: Use a Styrofoam And Glue It Inside Your Cardboard Box
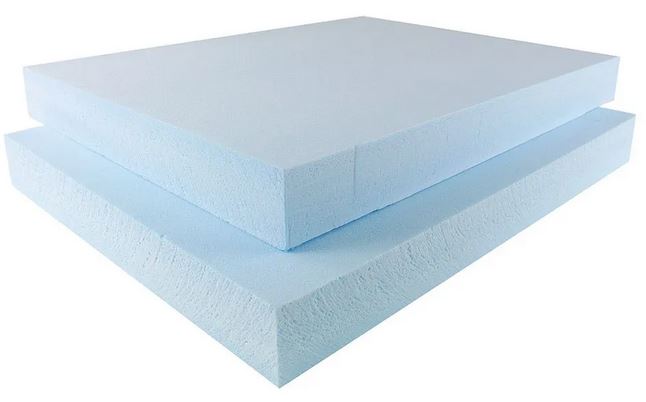
After you have acquired a cardboard box, you need to do the following. The inside of the box should be filled with styrofoam. We recommend using a styrofoam adhesive. This is the best way to keep styrofoam from detaching after some time.
Adding styrofoam is important between the cardboard and the insulating material because it adds thickness to the box and helps block sound from entering or exiting the box.
When placing styrofoam, it’s best to cut it into smaller pieces that are the exact proportions of the box and glue them one by one onto the box. Press down on the styrofoam for at least 10-15 seconds before letting go to ensure it’s stuck well.
Step 4: Add The Soundproofing Material Over The Styrofoam
When your cardboard box is coated in styrofoam, it’s time to add the soundproofing material. There is a variety of soundproof materials on the market, so it’s up to you to choose the one that suits you the best.
Popular soundproof materials are:
- Mass-loaded vinyl sound barrier
- Noice sheets (convenient and self-adhesive)
- Acoustic caulk or foam
- Soundproof drywall
- Soundproof wool
Whichever material you choose, it should be cut into the right size before sticking it to the styrofoam. Most materials aren’t self-adhesive, so they should be attached with styrofoam adhesive or strong super glue.
For those who want to learn more about soundproofing materials, be sure to read Are Moving Blankets Soundproof?
Step 5: Add an Additional Layer of Styrofoam (Optional)
Once you place a layer of styrofoam and soundproofing material, it’s time you test the soundproofing box. If you test it and are not satisfied with the results, you can easily add one more layer of styrofoam. That layer will act as a protective barrier for the soundproof material and increase the box’s density. This is only desirable if you are not satisfied with the soundproofing of your box.
If you are stuck in the whole process, don’t panic. Here is a good YouTube video that shows how to do this.
Step 6: Prepare For Use
Now that you have finished your soundproof box project, you should try to fit your device inside. If the measurements were made correctly, it should fit perfectly. However, if the device doesn’t fit by some chance, don’t ruin the whole box and start over. It can be fixed by only moving one side. You can add additional soundproofing material to narrow the space if there is too much space.
Step 7: Test Your Cardboard Box
Once you prepare everything for use, test out your soundproof cardboard box by placing your device inside and running. For example, if the device is a microphone, try to set it up and feed it via the mic cable to see how it sounds.
Related article to this topic: How to Soundproof a Dog Crate? (and Reduce Barking).
FAQ: People Also Ask
Does it matter what type of soundproofing material is used?
Some manufacturers of soundproofing products have better products than others. Because making a cardboard soundproofing box, is a fairly straightforward DIY job, most people aren’t too concerned with the nuances of manufacturing quality. If the product serves its purpose well, customers usually do not complain.
For greatly better results, one option is to buy mass-loaded vinyl. It is, for sure, among the costliest solutions available for those seeking effective soundproofing material, though. Acoustic foam is a suitable, budget-friendly option on the opposite end of the range. We suggest looking through material possibilities before settling on a course of action.
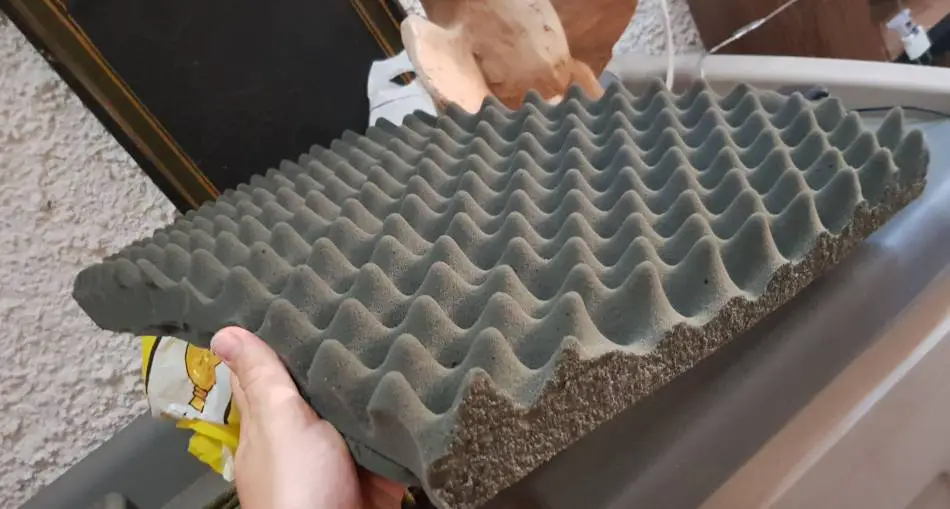
Can egg cartons be used to soundproof a cardboard box?
No, egg cartons can’t be used to soundproof a cardboard box. It has been proven that their shape and uneven surface are not good enough insulators. The egg cartons cannot suppress usual sound waves, only the echoing noise. Simply said, they are too frail to have any real impact.
Can a Professional Handle This?
Seeking professional help to create a soundproof cardboard box seems a bit excessive to most. This method is recommended for those who want to complete this task independently.
Final Thoughts
To make a soundproofing cardboard box, all that’s needed is a cardboard box and scissors, styrofoam, soundproofing material, and adhesive. We suggest experimenting with different materials to check their soundproofing performance and then choose the best-performing one. The selected material depends on the device which goes into the box.
Nothing stops you from creating as many boxes as you want for various purposes. Although things project might seem complicated, following the steps in this article will help you grasp the concept and get a decent product out of it. If you have any further questions, feel free to reach out!