
5 Easy Steps to Fix A Leaky Window
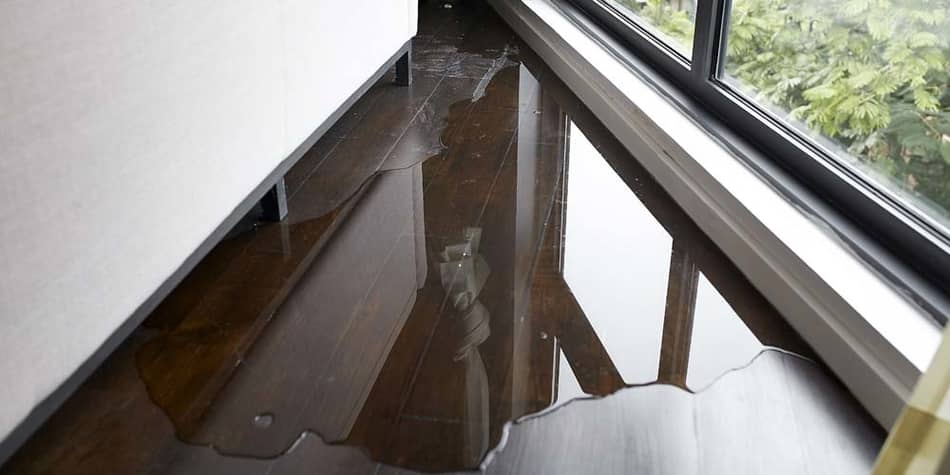
Most people do not notice that they have a leaky window until it starts to rain, and water starts leaking into their house. Whenever you notice leakage, do not panic. This is something you can fix yourself without the help of a professional. Make sure to not put this off because leaky windows can be a source of defect to the building structure, floods, ruined walls, and an overall terrible aesthetic. In this article, we’ll explain how to fix a leaky window with few easy steps. So, let’s start.
Table of Contents
How To Detect A Leaky Window?
Leaky windows sometimes can be hard to detect. But once you do notice that your window leak, it’s crucial to find out where precisely the water is leaking through. Water can leak from the top or from the bottom of the frame. You can check this out by coming close to the window and following the leaking water stream to its very beginning. Once you pinpoint the leakage spot you can start fixing it by following the guide underneath.
The other method that can also be used to detect a leaky window is that on a cold day, you place and hold your hands only a few inches away from the window frame. If you notice any drafts or feel cold air, then on that place there is probably some hole that is leaking the air.
Complete Guide: How To Fix Leaking Window
After we properly diagnose why our window leaks, the next step is to fix a leaking window. Below we will explain through 5 easy steps how you can fix a leaky window problem. Don’t worry if you have no previous experience, because if you follow the instructions, you won’t have any problems. Let’s start.
Step 1: Remove The Old Caulk
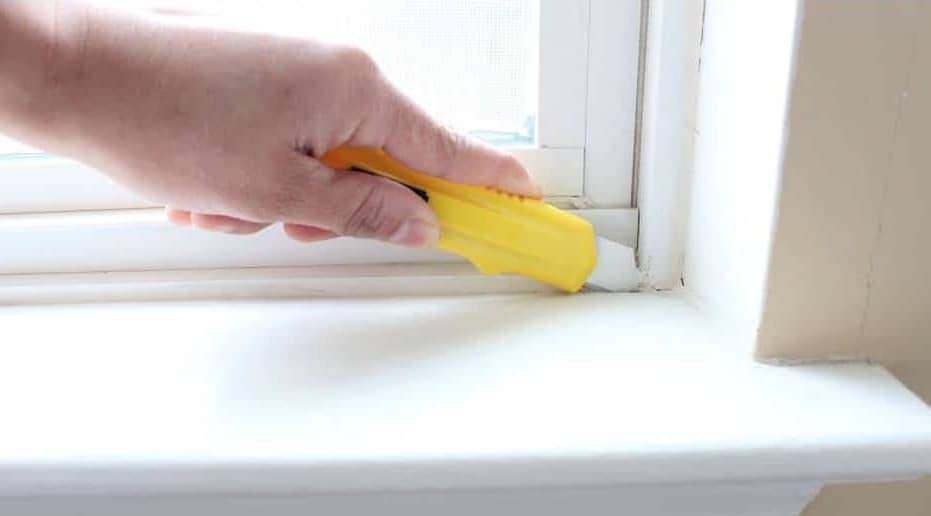
Before you start working on a leaking window it’s important to take out the old caulk. Caulk is a white rubber-like material used to seal joints or seams against leakage in various structures and piping that comes packaged in tubes. It fills in the space between the frame and the window. It can be taken out with a knife or spatula. This step is essential because poor caulk removal will for sure negatively affect the results. Taking it out properly makes space for new fresh caulk.
Step 2: Get The Caulk Gun
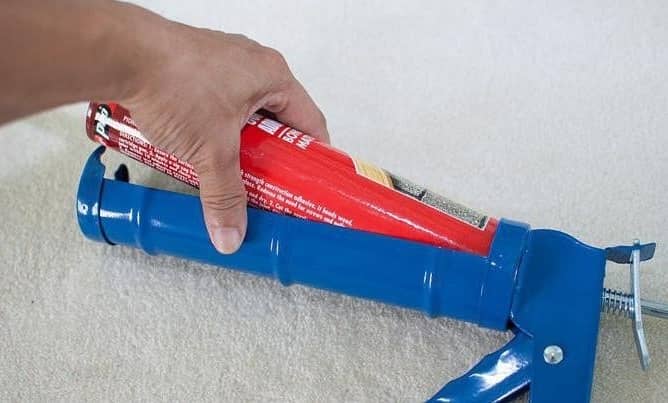
Caulk guns are extremely simple to find. If you do not have one somewhere in your basement or garage, you will for sure find it in the local paints and varnishes store. Once you have a caulk gun in your hand, you are ready for the next steps:
- Place the tube into the gun – make sure they are the right match, so they fit perfectly with each other.
- Cut the tip off the caulk gun nozzle – the amount you cut should be based on how much caulk you want to come out.
Step 3: Puncture the Seal on Caulk
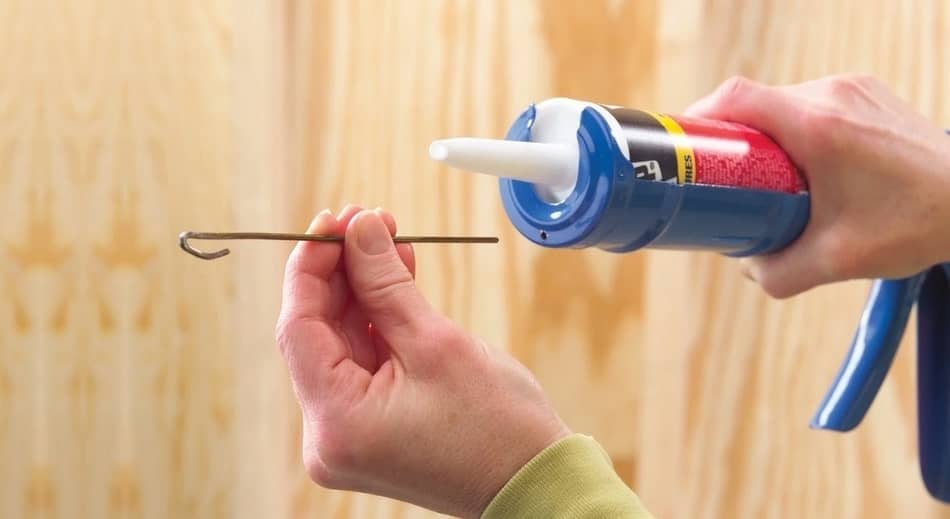
The best and fastest way to puncture the seal on the caulk gun is to poke it with something narrow and sharp. It can be a needle or nail. Sometimes even the cap already has a sharp point inside of it that can be used to break the seal. Once you break it, squeeze out a little bit to see how the caulk flows. If everything is fine, then you can move to the next step.
Step 4: Seal The Leaks With Caulk Gun
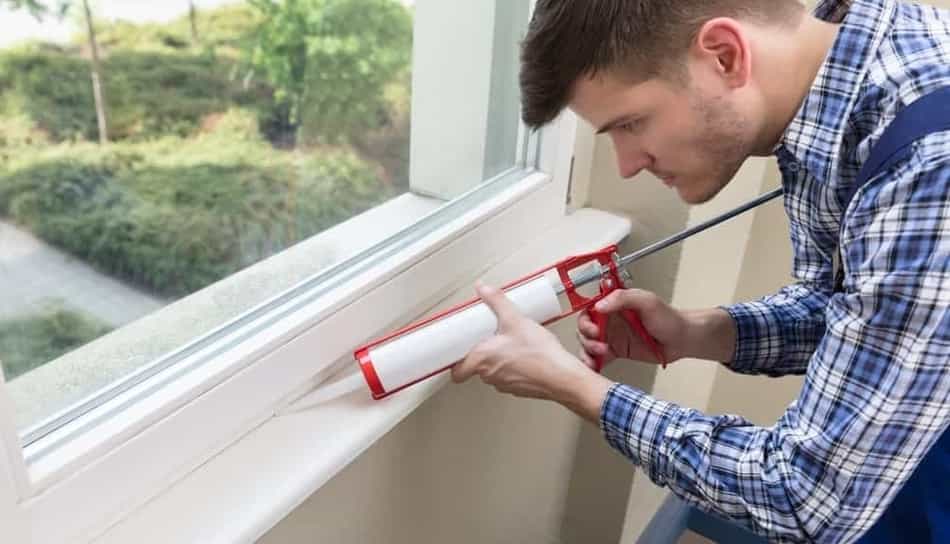
This step is the most important one because it’s the one that seals the leak. Sealing a leak with caulk is done by slowly spraying the rubbery foam into the space between the frame and the window. A little bit more should be added in the spaces where the actual leak was located. The trick to doing this precisely is not applying a lot of pressure on the trigger because strong pressure pushes out large amounts of caulk that then do not sit right in the spacing.
Additionally, it would create a lot of mess. After caulk was applied to the spacing, add extra to the parts where the frame meets the spacing to make sure the window doesn’t leak again. Subsequently after finishing the caulk applying process smoothen the caulk with a spatula before it dries. The mass should be unnoticeable and flat with the window surface.
Step 5: Final Check And Cleaning
Make sure to clean all the unwanted caulk before it dries. This can be done with a clean and thick paper towel. Also, do not forget to wipe the gun nozzle to make sure that the caulk doesn’t dry and block the tube nozzle for next use. Check this step carefully, as it will be too late for any changes later.
Now that we’ve gone through all the steps I hope you understand how it all needs to be done to fix a leaky window. But just in case, we have prepared a quality YouTube video that will also show you this whole procedure.
How To Fix Leaking Window Frames
Window frames can often be the reason for leakage. Therefore, replacing the frame can be the way to fix the window leak. A good way to identify if the leak is indeed coming from the frame is to have someone spray the window with water from the outside. While they are spraying, you should watch where the water is coming in. If the area close to the wood is leaking then the solution is to take out the trim. Once the trim is taken out, a close look should be taken to decide if recaulking should be done.
The wood should be taken out with a putty knife. Damaged trim should be replaced and attached back to the frame with a nail. Do this carefully. Make sure the caulk you are using is waterproof. The window frame is going to look the nicest if it’s painted in the same color as the window, its surroundings, or both.
Also, if you want to know What is the Purpose of Aluminum Foil On Windows, you can read this article.
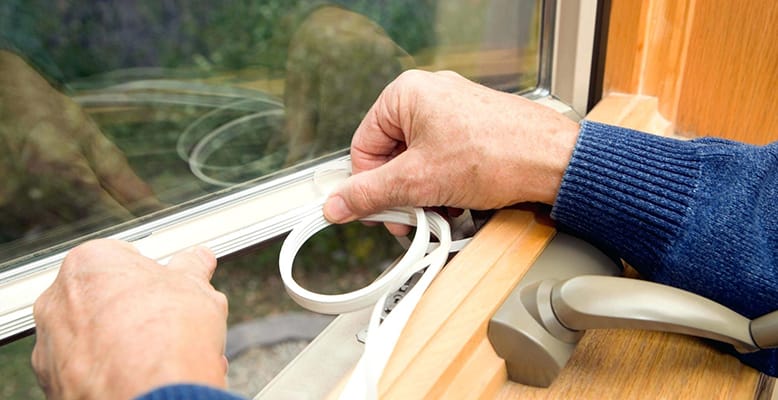
Replacing The Weather Stripping
Shabby window stripping can also be the cause of windows leaking. If this is the case, try to fix it as soon as possible to avoid further damages. To identify if this is the component causing leakage and be able to locate it, you should figure out what type of you own.
- Type 1 (Sliding window)– In this type of window the weather stripping is placed inside of the frame where the functional portion slides in.
- Type 2 (Single-hung window) In this type of window the weather stripping is placed inside of the frame that you can lift up.
Steps To Change the Weather Stripping Successfully
- Delicately cut out the weather stripping on all of the window sides before pulling it out. Use an old but dry peace of material (a rag for example) to wipe the sides. Wait for it to dry.
- Measure the length and width of the frame you intend to use.
- Lastly, only take off the back of the weather stripping, so the top part stays intact.
How Can I Prevent Future Window Leaks?
Older windows are quite difficult to maintain. Newer windows, on the other hand, need almost no maintenance to stay in great condition. They rarely leak or cause any issues. Although, there are a few things you can do to prevent even those rare problems. Firstly, you can regularly check on the inside and outside caulking and reseal if necessary.
Secondly, if your window is a non-fixed hung or slider window, you can make sure that the drainage channels are clean. They can easily get clogged by dirt and leaves and that way stop the water flow. If not cleaned regularly they can overflow because of water accumulation and cause damage. If you do both the mentioned maintenance interventions regularly, and a leak still occurs, contact a professional.
Why Are My Windows Leaking?
As mentioned above, window leakage is a common problem in older homes. It’s because they withstood extremely high and low temperatures, changing weather conditions and building settling throughout the years. Those circumstances made them less air and water-resistant.
Because of this, the glazing seals break, window frames end up damaged and the overall window stops being aligned with all its parts. Misalignment usually leads to small gaps in the structure that then lead to water leakage. Three main reasons that cause window leakage are poor house design, crummy window installation, and rare or no maintenance. The reasons are explained in more detail below.
1) House Design
House design might not seem relevant in the issue of water leaks but it’s actually one of the most important factors. Misses made while building a home such as too little overhangs that drain water of the roof to protect the home from rainwater, too many cracks in the walls, and inward instead of outward angled fascia boards above a window can cause costly water hazards. Preventing and detecting design flaws might be a bit difficult to do on your own so it’s good to call a professional to consult with.
2) Home Installation
If you eliminated the possibilities of a worn sealant causing the leakage, it’s most likely bad installation causing leakage. Poor installation mostly includes gaps in flashing, wrongly fitted windows, or non-corrosion-resistant nails. When it comes to poor installation the only two solutions are window repair or replacement. It’s best to reach out to a professional who can examine what exactly the issue is and asses if the window can be repaired or it has to be completely swapped out for a new one. These are some of the main reasons why its important to ask for help instead of doing it alone:
- If you do not do the window installation process perfectly, the water will still infiltrate into the house. This makes the effort and money put into the process useless.
- Using materials available to most people, such as building paper and house wrap, will not get the job done properly. Explicitly made window flashing is what should be used to be sure that the water won’t seep into the walls next to the window.
3) Regular Maintenance
Just like most things, windows start to experience damage with time. The damage is caused by a breakdown in the chemical components of the sealant. The degraded sealant can be noticed during rainfall because condensation gathers up around the edge of the window. A degraded sealant indicator can also be discoloration or abrasion of the sealant. Other than the common issue of chemically broken-down sealant, there are some other wear-and-tear issues that can cause water leakage. Some are:
- Flawed locking mechanisms that prevent the user from closing the window fully, which lets water into the house.
- Shortage of caulking in the window flange and at the seams.
- Cracked and damaged glazing putty which’s role is to block out moisture and stop condensation between double-glazed windows.
- The window missing a paint seal. Paint seal creates a tight seal because it covers the ends of the window molding and the beggings of the glass.
Note! Try to examine your window and all its fragile parts to see if you missed any potential repair areas. This might seem irrelevant, but every small fix means a lot for the durability and future quality of your windows.
When It Is Time To Replace Your Leaking Window?
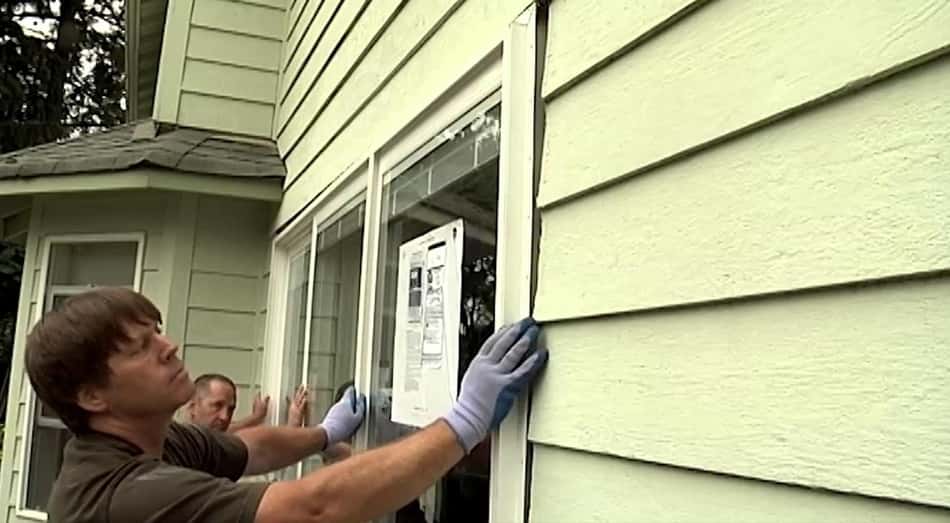
The best quality way to fix a leaking window is to replace it. This option is the most expensive one, but it is the safest and simplest for you. All you have to do is call a licensed professional and schedule a time for him/her to come and replace your window. A brand-new window guarantees protection from moisture and lowers heating and cooling bills because of its great isolation properties.
Q&A: People Also Ask
1. How Much Does it Cost To Fix A Leaking Window?
Average pricings:
- Window leak repair- $100.
- Seal repair that prevents moisture and gas from getting through- $145
- Re-caulking of one window- $50.
2. Does Homeowners’ Insurance Cover Leaking Windows?
Homeowners’ insurance should cover any possible damage caused by leaking windows. This damage includes rotting wood around the windows, damaged wall paint, damaged flooring, and so on. The homeowner’s insurance usually doesn’t cover repairs, only replacements of damaged objects.
3. What is The Best Sealant For Leaking Windows?
One of the best and most durable seals is the Loctite PL Window Door & Siding Polyurethane Sealant. The reason why we pointed out this one is that it has shown to be water and weather-resistant, resistant to UV radiation and ozone, flexible, capable to cover most exterior gaps and joints, and most importantly, permanent.
Final Thoughts
Window leaks are rare in newer homes but not so rare in older ones. Either way, once they happen, they can cause serious damage if not repaired right away. Most leaks can be avoided by regular maintenance. To fix a leak, here are the most important steps, repeated in a simpler and shorter format:
- Determine in what place exactly the window is leaking
- Remove old or damaged caulk and apply new caulk with a caulking gun (this process is called recaulking)
- Check if the window frame has any damage and repair if needed
- Reinstate the weather stripping if it’s flawed
If you found this article helpful or want to add more information on this topic, leave a comment in the comment section below. Also, feel free to reach out if you have any questions!