
How To Install Garage Door Opener Sensors?
Today, almost every garage that has a door opener comes with safety sensors. Their role is not only to provide simplicity, but they are necessary for preventing accidents and maintaining security. Therefore, installing these sensors correctly is very important to ensure they perform their role effectively.
In this article, we’ll explain everything you need to know on how to properly install garage door opener sensors, ensuring your garage is safe and functional. So, let’s start!
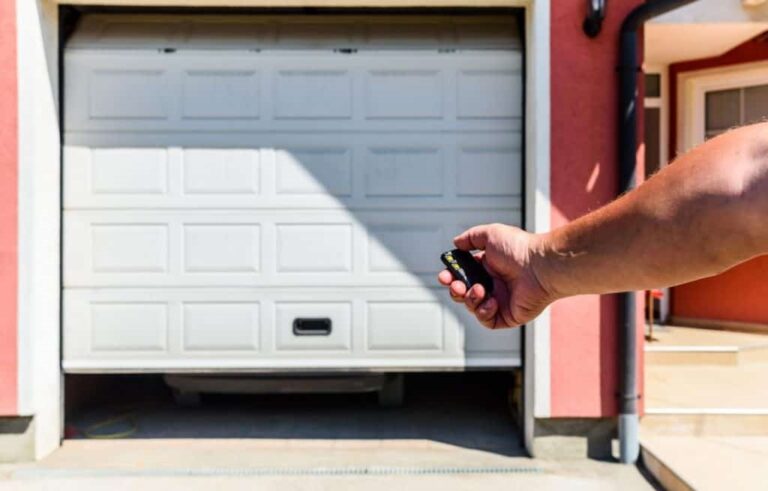
How To Install Garage Door Opener Sensors? To install garage door opener sensors, mount the brackets about six inches above the ground on each side of the door track, then attach and align the sensors to these brackets. Finally, connect the sensors to the opener and test to ensure they function correctly by detecting any obstructions.
Garage door sensors are a very important part of every garage door opener, so having them properly installed is crucial for safety. Understanding how they work is the first step in this process. In the next section, we’ll start by understanding how they work.
Related Article: How Long Do Garage Door Opener Sensors Last?
Table of Contents
Things to Know Before Installing Garage Sensors
Understanding the role of garage door sensors is very important, especially given their significance and cost. While it’s commonly believed that these sensors are primarily for the opening and closing of garage doors, that is not entirely true. In reality, garage door sensors are complex gadgets, often coming with a significant price tag.
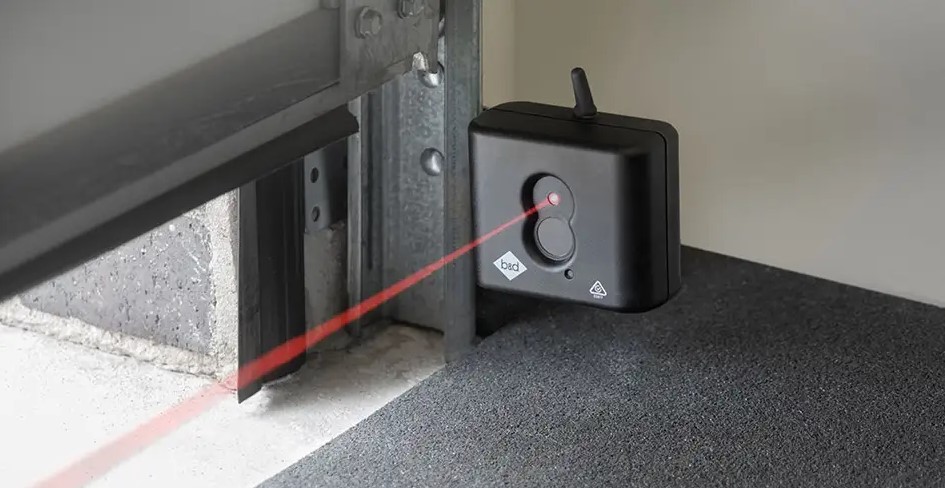
These sensors are equipped with a unique safety mechanism. They emit infrared beams that span their movement path and thus detect any object that might obstruct it. This functionality not only safeguards the garage door from potential damage but also protects any objects that could be in its way, including vehicles. Moreover, this feature is particularly important for families with children and pets, offering an added layer of safety.
Required Tools To Install Garage Door Safety Sensors
Before installing garage door safety sensors, gathering the necessary tools is important. Being well-prepared with the right equipment is key to successfully finishing this project. In the next section, we’ll explain every step of the way how to install garage door sensors properly.
For this task, you’ll need:
- A reliable drill
- A standard screwdriver
- A measuring tape
Once you have these tools, you’ll be all set to begin the installation process.
Steps to Install Garage Door Safety Sensors
Now that you know garage door sensors and how they work, you have all the tools you need; let’s jump into the step-by-step installation process for your garage door reverse sensors.
Step 1: Choice the Right Garage Door Safety Sensors
The first step involves choosing the right garage door sensors. It’s important to select sensors specifically designed for your garage door opener brand, as cross-brand compatibility is usually impossible.
Step 2: Unplug the Garage Door Opener
Start by unplugging (disconnecting) your garage door opener. This step prevents electrical hazards while connecting the new safety sensors. Safety first!
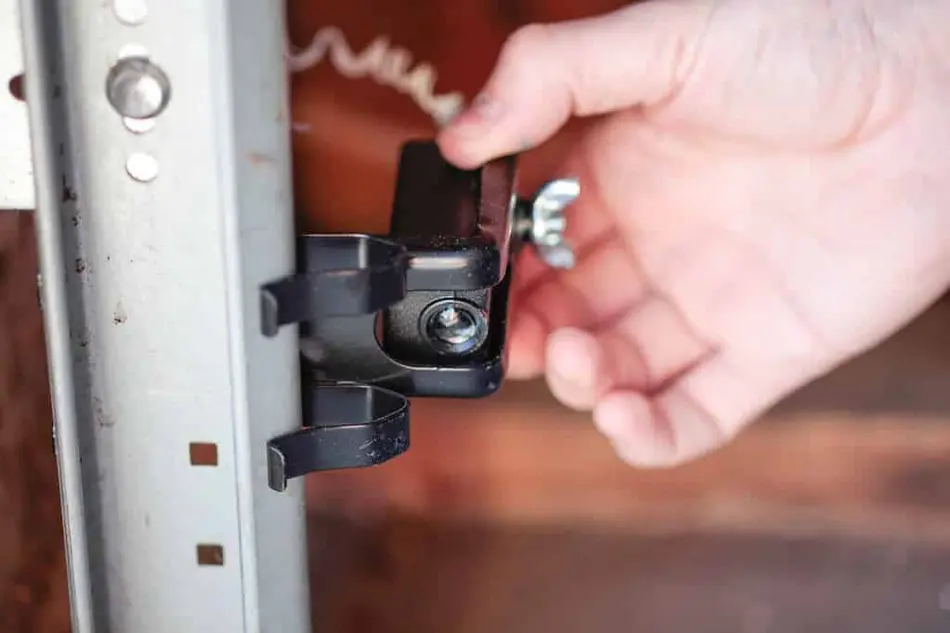
Step 3: Find the Right Sensor Mounting Brackets
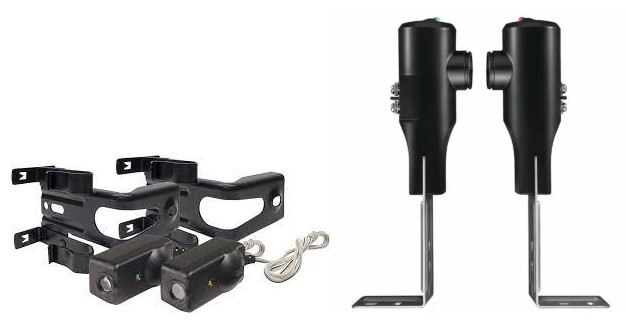
Look for the sensor mounting brackets included in your safety sensors kit. These brackets are crucial for attaching the sensors to your garage door mechanism.
Step 4: Secure the Mounting Brackets
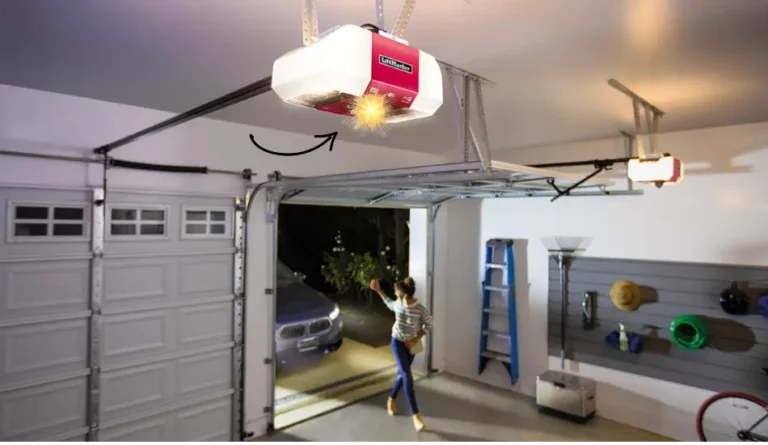
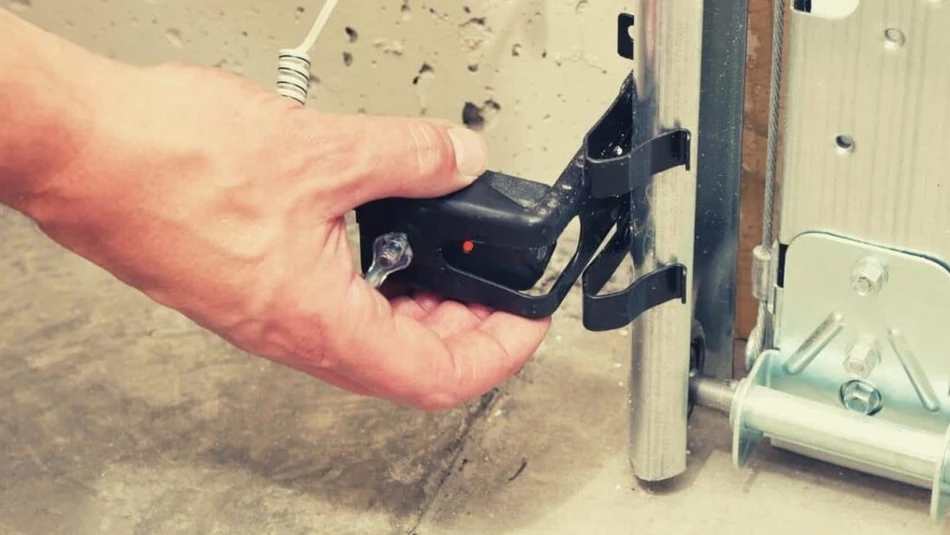
If you’re using a Chamberlain opener, it comes with hooks for easily mounting the brackets on the garage door track. Secure these approximately 6 inches off the ground.
Step 5: Attach the Brackets
For Genie Opener Safety T-Beams sensors, which include screws, use a drill to firmly attach the brackets that are located beside your garage door.
Step 6: Attach the Sensors to the Brackets
The next step is to carefully mount the safety sensors on the brackets. Ensuring they are level and directly facing each other for optimal performance is important.
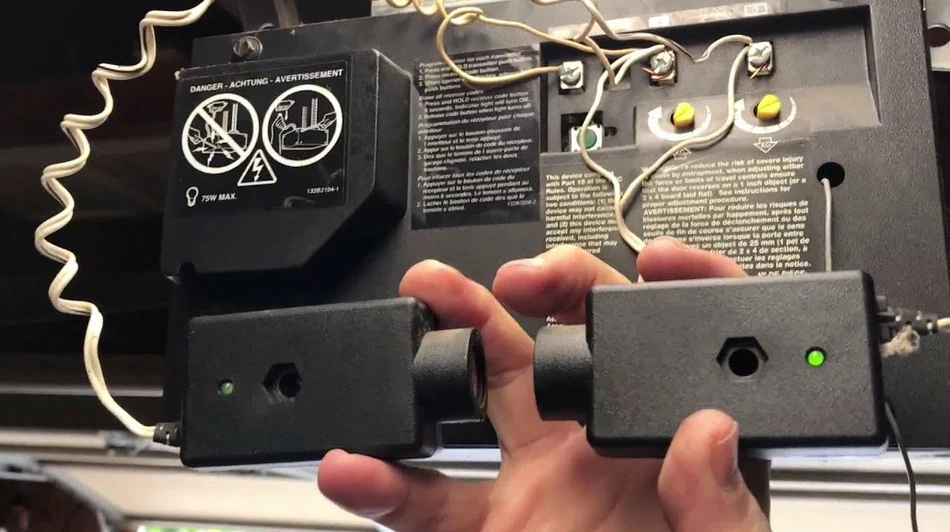
Step 7: Connect the Wires
Next, connect the sensor wires to your garage door opener, following the specific instructions that come with your opener’s manual.
Step 8: Test the Garage Door Sensors
After the wiring is finished, power up the garage door opener and test the sensors by placing an object in their path. If the sensors are working properly, the sensors will detect the object and the garage door should reverse its motion.
Step 9: Make Adjustments To the Sensors
In case the sensors don’t respond correctly, adjust the position or angle of these sensors. If the problem is still present even after you make adjustments, it might be time to contact a professional garage door service for assistance.
How To Identify When to Replace a Garage Door Sensor
We’ve previously discussed the critical safety functions performed by garage door sensors. Therefore, it’s important to address a faulty or damaged sensor immediately. Here are some key indicators that signal it’s time to replace your garage door sensor:
- Delayed or Non-Responsive Door Movements: If your garage door hesitates or completely fails to respond when you use the remote or wall button, this is a clear sign of sensor issues.
- LED Lights Not Blinking: Normally, garage door sensors have two LED lights that activate during operation. If these lights remain off, it’s likely time to look into sensor replacement.
- Build-Up of Dust and Debris: Regular maintenance is crucial for sensor functionality. Neglect can lead to dust accumulation, which might impair the sensor’s performance and potentially cause irreversible damage.
- Inconsistent Power Supply: Sensors require a stable electrical supply to function. Your sensor’s performance could be compromised if the power flow is erratic.
- Damaged Wiring: Issues like entangled wires, breakage, or visible burn marks are serious concerns that often necessitate replacing the sensor.
Identifying these problems early can save you from bigger issues down the road. Regular checks and maintenance ensure your garage door sensor remains in good working order.
Related Article: Garage Door Opener Sensor Wiring Diagram
FAQ: People Also Ask
How does a garage door safety sensor work?
Garage door safety sensors operate using a photo-eye mechanism. They emit an infrared beam, similar to the technology used in TV remotes or night vision cameras. Generally, these sensors are installed around six inches above the floor. The system consists of two components: a receiver, usually indicated by a green LED light, and a sender, marked by an Amber or Red LED. Together, they form an invisible barrier across the garage door’s path, detecting any obstructions that might interrupt its closing process.
Will any sensor work with any garage door opener?
No, it’s important to note that not every garage door safety sensor is universally compatible with all garage door openers. Although most sensors function on the fundamental principle of obstruction detection to trigger a reversal of the door’s movement, they must be compatible with the specific make and model of the garage door opener.
Do installing Garage Door Safety Sensors Need a Professional?
Yes, it’s generally recommended to have garage door safety sensors installed by a professional technician. This ensures effective and safe installation, as the process requires specific knowledge of electrical wiring and mechanical systems. However, installing the sensors yourself can be manageable if you possess sufficient know-how and adhere to the provided manual instructions.
Final Thoughts
In conclusion, installing garage door opener sensors is a task that combines precision and safety. While the process may seem straightforward, ensuring proper alignment and compatibility is key to their effective operation. Remember, these sensors are not just functional components but critical safety features, protecting your family and belongings. With the right tools and a bit of patience, you can successfully install these sensors, enhancing the safety and functionality of your garage door system.