
How To Fix a Hole In a Bathtub?
Over time the fiberglass and acrylic tubs can frequently suffer from gouges, fractures, and cracks due to regular use or sometimes abuse. It is known that accidents can happen even while you are in the bathtub, therefore if you drop something heavy, you could make a hole in your fiberglass bathtub. Too much force in one area can cause the material to break, allowing water to get behind the surround, causing damage.
In this article, we will show you two methods of how you can fix a hole in a bathtub by yourself and save cash doing so.
Table of Contents
How to Fix a Hole in a Bathtub?
So How to Fix a Hole in a Bathtub? In short, to fix a hole in a bathtub, you’ll need to remove any rust around the hole, brush it slowly and gently, clean up any debris left from the brushing, use one of the materials available for patching, allow it to dry and use a porcelain repair kit to paint over the hole.
Keep in mind that you’ll have the best chance of restoring the hole if the tub is not yet fixed or if it can be turned over to do the repairs.
Fiberglass is formed using a mold that is first coated (after mold release) with the finish substance, so you get that smooth surface and uniform color. Beneath is the actual fiberglass applied in layers of resin mixed with a catalyst, and the gauze-like fiberglass weave.
It’s usually pretty messy and patchy, and if it must look nice, it can be ground down and sanded after curing. Mounting the inside of the tub from underneath will harden the crack so it can’t flex and open up again. The next move would be to fill the gap and refinish the inside.
If you are interested, you can read, How a Bathtub Works (Drain & Plumbing System).
Two Best Ways to Fix a Hole in a Bathtub
1. Using Fiberglass Cloth And Resin
Fix it with a fiberglass repair kit from any home improvement store. If you want to fix your tub quickly until it is replaced, the best substitution would be with fiberglass cloth and resin.
The standard fiberglass repair kit includes a patch of fiberglass cloth, a resin container, and a hardener bottle. You just add a few drops of hardener to the resin, stir it, then apply it over the crack.
This is what is practiced in the boating world to patch holes in fiberglass hulls. Here is Step-by-Step process:
- Wire brush any loosened material from the bathtub wall wipe the surrounding area with a solution like lacquer thinner to eliminate contaminants.
- Cut an oversized part of fiberglass cloth, treating an extra 2 inches beyond the repair area.
- Blend the resin as per the label. Clean the tub surface to the cloth outline.
- Place the cloth over the patch and brush liberally with more resin to soak the fabric thoroughly. Build up with more layers of cloth, making each layer cure first.
- It would help if you did this on the other side of the crack. Sand with progressively higher grits until it is soft. Paint if wanted to match the existing color. Two-part epoxy would also make a healthy replacement material.
- Then use a bathtub refinishing material to make it seem brand new. A refinishing material can make even the oldest tub look astonishing if applied correctly.
What may happen is the porcelain topcoat has been yielded to the point that it showed the cast iron metal to the water. It has oxidized so much it has dissolved and left a crack.
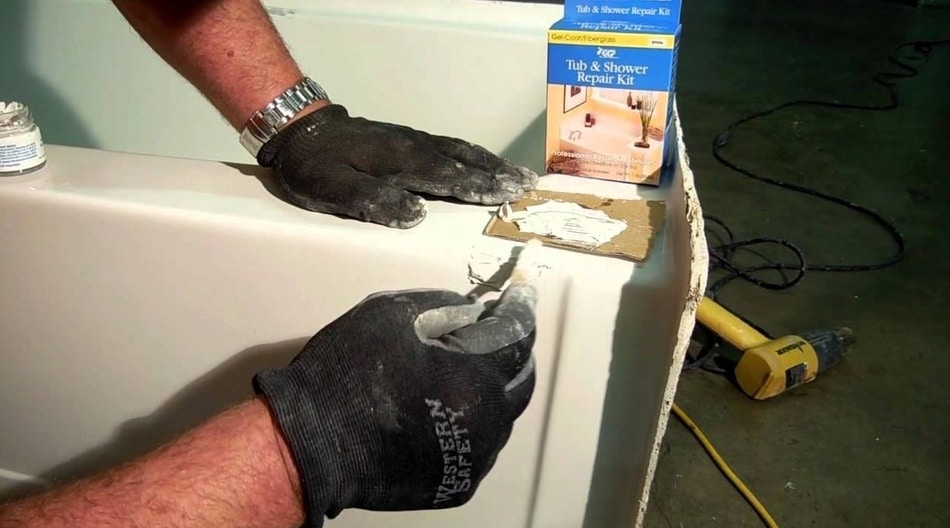
2. Using Epoxy and Rustoleum
Owners of metal bathtubs surfaced with porcelain enamel often find rust begin to eat into the porcelain coating after years of use, resulting in a crack. To bypass having your entire bathtub rust out, you’ll have to take measures to fix the hole.
An epoxy blend will fill the hole and dry after only a couple of days, leaving you with a patch that’s both strong and waterproof. Adding a little shine with the aid of a porcelain repair material will deceive the repair.
Rustoleum gets a bathtub and tile epoxy paint-like product that I’ve worked with after epoxy-repairing my bathtub (felling tile scratched/dented the tub), and the tub seems brand new after using the two epoxy products.
- Prepare the Work Area
Remove all the things from the bathtub you plan to repair. Detach the bathtub spout, hot and cold faucet holders, the drain and griddle, overflow, and escutcheon plates. Cover the floor throughout the tub with dropcloths. A utility blade can help you slice through old bathtub caulking.
Use a one-sided utility cutter blade or putty knife to leverage beneath nonslip strips hardened to the tub floor, and eliminate all nonslip or decorative pieces from the tub.
- Tub and Safety Preparation
Thoroughly wipe the bathtub with an abrasive scrubber and appropriate product to eliminate bath oils, soap residue, substantial water deposits, and rust debris from all the tub areas inside and out. Keep a razor blade handy to remove old paint or rust debris. Watch out against inhaling lead dust before cleaning and sanding, because some old bathtubs may contain lead.
Have a National Institute for Safety and Health approved face mask to filter out potentially harmful particles and toxins. Clean the tub area with a vacuum containing a high-efficiency specific air filter and a wet mop.
- Fix the Hole
The size of the hole determines the method you should use to fix it. Repair small holes no larger than a dime with steel-reinforced epoxy resin and hardener. Bigger holes may need a steel-reinforced epoxy putty to keep the spot from opening again underwater weight. Paint over small areas with the two-stage epoxy resin.
For bigger cracks, cut the amount of putty you need to cover the gap. Knead the putty carefully until it retains a uniform color, which suggests the hardener is activated. Shape it a bit larger than the crack, and press into the spot. Let the chosen as the company’s guidelines suggest, generally about 90 minutes before sanding or drilling.
- Refinish the Tub
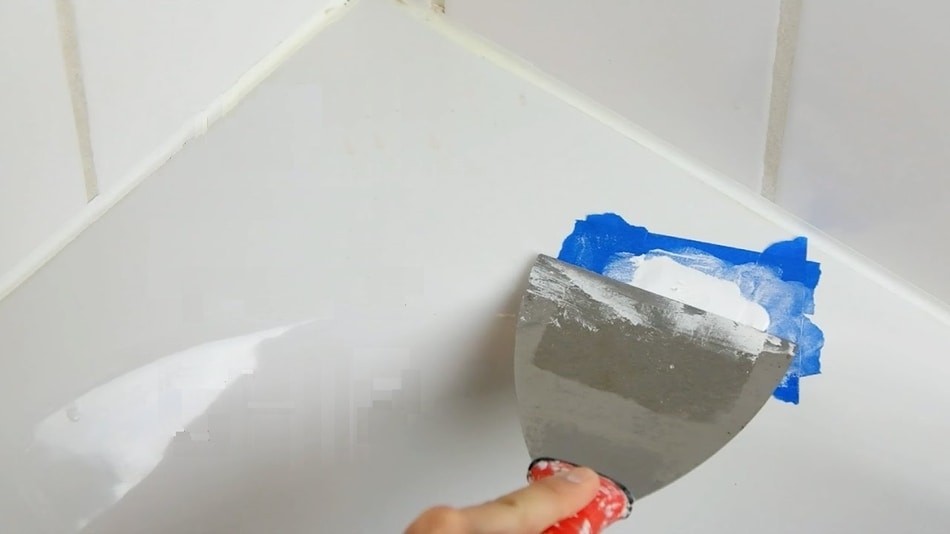
Ventilate the bathroom thoroughly before refinishing the tub. Clean the bathtub down and then sand it with 400 to 600-grit wet-dry sandpaper. Wetting the sandpaper keeps the dust to a minimum. Scratch the entire surface of the tub with the sandpaper so the new polish will adhere. Sand the epoxied area to get it as smooth as you can, as it needs to blend in with the rest of the surface.
After sanding, and wiping away dust ruins, mix and utilize the refinish material of your choice with a paintbrush, roller, or paint sprayer, which usually levels as it cures. Let the tub dry and fix for at least 36 to 60 hours or longer, depending upon the product, warmth, and humidity, per the directions that came with the product.
How To Get Hard Stains Out of a Fiberglass Tub?
It would be best to manage stains in fiberglass tubs and showers correctly not to damage the delicate finish. Try letting the stain dry in castile soap for up to an hour, then spread the area with a smooth cloth or sponge in a circular movement.
Rinse the area thoroughly when it’s done. If that’s not working, you might be able to wash the stain out with a baking soda adhesive and a soft cloth. For ultra-stubborn spots, acetone-based nail polish remover or turpentine may work. Let the solution sit on the color for up to an hour, then rub the area with a soft nylon brush.
Wipe it clear with a damp rag or sponge.
How to Fix a Small Hole In a Bathtub?
1st Option:
- We cut off all the rough hanging edges and sand it smooth.
- We then tape the bottom off and then fill it with a Bondo Marine fiberglass kit, as the bathtub itself was fiberglass.
- Once it is dry, we sand it smoothly from 80 grit down to 800 grit.
- We then use a POR 15 paint product made for porcelain sink and bathtub touch up.
- It takes a little automotive polish to blend it in the right, but it’s done quickly.
2nd Option:
We cut the piece off cleanly in a square about 1/4 inch from each side of the hole and then repair it with fiberglass sheets. This is your best option for making it look like new.
It’s a straightforward process. You just put the sheets down and use the paste. It appears to paint over the sheets and fix them in the shape you want. After that, the only thing you’d have to do is sand it down and apply some waterproof sealer over the section.
Here is a link to the product. Anything similar to this will work well.
Common Problems with Repairing a Hole
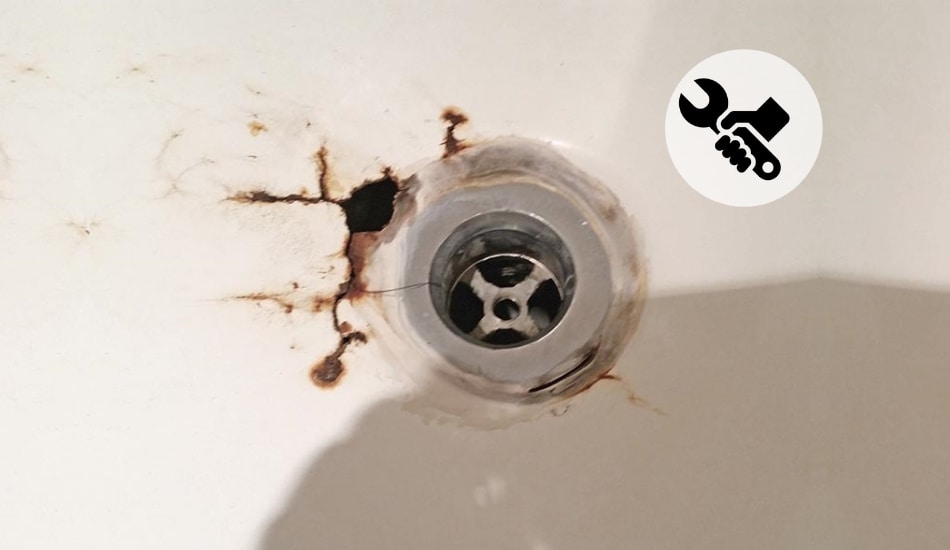
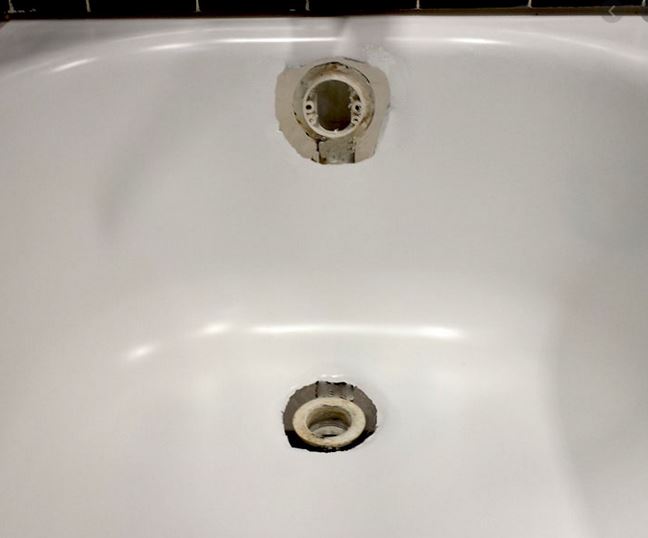
- Bathtub Drain Rusted Through Leaking Water

Here we have a top candidate for a bathtub drain rust hole repair. The corrosion under the tub will expand if the hole is not patched. You need to react quickly when you see such problems with the bathtub. Use one of the methods that we have listed above.
- No Bathtub Hole, But it Will be There Soon
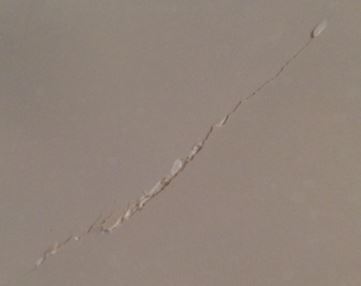
Even though there is no crack yet, the metal can become so thin the area often needs to be removed and repaired. This tub was refinished badly and is peeling as well. Initially, when the tub was refinished, the drain should have been drawn to eliminate rust, which was not done. This could be dangerous so the fix needs to be done.
- Bathtub Double Rust Out.
Here you’ll need to cut out the badly rusted metal out, which is important as any remaining rust will come back – opening up the area around the drain & overflow is recommended to provide the new metal to be fiber-glassed in. If you’re not sure if you can do it yourself, check out for some tutorials on youtube for it.
Only by asking some probing inquiries about bathtub rust hole or bathtub overflow rust hole repair you’ll soon see whom not to use for this sort of advance repair, which does require a good deal of experience, ability, and artisanship.
The difficulties usually seen in amateurish patches are:
- Not eliminating the badly rusted metal.
- Not applying fiberglass cloth to span the opening.
- Not using strengthened fundamental fiberglass gel.
- No metal ring fixed for mating to the gasket.
- Using Bondo type fill, which is not waterproof or skeletal in form.
My Experience
A while back, my daughter fell and put a knee-sized hole in our tub a couple of inches up the side. First thing I did was that I put a temporary patch over the plastic cut.
Then I used the patch, which worked fine for showers, but I tried to take a bath, and it started raining in the basement.
Then I found out about Acrylic Bath Repair Kit.
- First, I applied the putty to the hole from underneath the bath. The Epoxy Putty will harden after 5 minutes – full strength after 24 hours.
- I added the complete contents of brown bottle Part 2 to Part 1.
- Then I mixed two parts in an aluminum container using the rod provided and extracted the Syringe’s mixed liquid.
- Then I used the mixed solution of Syringe and overfilled on the damaged area, smooth out air bubbles with film, and let it cure for approximatley 12 to 20 hours or 5 hours with the use of Rapid set and Putty Kit.
- I rubbed it down with wet and dry provided and polished to a smooth finish.
That’s it!
This Kit is nearly liquid acrylic – which is the same as a bath melted down. What surprised me is that it offers an invisible color match. The kit comes matched to IW28 color code, which is a European white, which (I think) matches 90% of all bathroom suites.
Final Thoughts
As you could see, repairing a hole in a bathtub is not as complicated as it may have seemed at first. With the right tools, this can be fixed very easily and quickly, so you can save money. In addition, you will not have additional problems in the bathroom such as water leakage and you will be able to take a shower with pleasure. If you have any more questions, feel free to leave the comments below.