
How to Replace Analog Thermostat with Digital?
Changing your analog thermostat with a digital one is an excellent way to save on your heating bill because digital thermostats can control the temperature in your home more accurately. New digital thermostats can save up to 15% of your heating bills.
Therefore, I think that’s more than enough reason why you should do it as soon as possible. My current little project was replacing the analog thermostat with a digital one. In this article, I will tell you step by step how I did it. So, let’s start!
Table of Contents
How to Replace the Analog Thermostat with a Digital?
So How to Replace Analog Thermostat With Digital? To replace the analog thermostat with a digital one, you’ll first need to turn off the power in the house, remove the faceplate from the current thermostat, label the wires, detach the wires, and remove the cover, mount the new thermostat, rewire it, and attach the faceplate.
Ensure you read the instructions for your new thermostat thoroughly before you start with the work because it is very important every time you operate with electricity. Therefore, turn off the power to your heating and cooling system! You can do this by going to the fuse box, circuit breaker, or if a light switch regulates your thermostat. Just ensure that the switch is switched off.
> Check the latest Digital Thermostats HERE <
After turning off the breaker box’s power, you should always, always, ALWAYS, confirm the power is shut off with a voltage tester and/multimeter. NEVER assume the power is off. A line voltage of 240 can kill you.
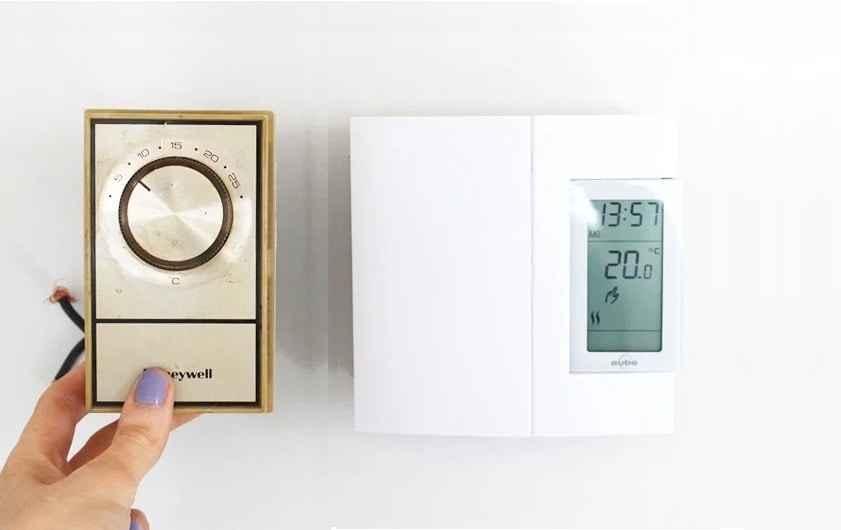
Remove the faceplate and detach the wires. Since some thermostats comprise mercury, your old thermostat must be recycled. You can look on Google to see where you can recycle it.
Twist the back part of the thermostat onto the wall (after drawing the wires through space). Look at your directions and check the diagram to recognize which wires get connected where.
After wires are attached, you can connect the digital thermostat. Depending on the type of your new thermostat, the number of batteries will differ. Finally, connect the base and screw in position. Switch the power back on, and you’re finished!
Related Article: How Does an Analog Thermostat Work
Why Analog Thermostat Is Bad?
Analog Thermostats are inaccurate and can deviate by a few degrees from the set temperature, resulting in an additional energy cost and a larger bill. Therefore, it is desirable to replace them with digital ones.
Some people are so used to their old thermostats that they have used them many times over the years. At that same time, you were worried about how much the energy bill would be, knowing that your analog thermostat was wasting more money and energy than it should.
This extra expense, particularly in winter, was caused by the analog thermostat, which didn’t hold the close temperature span you desired. Therefore, to meet your needs, you raised and lowered the thermostat setting as much as four or five degrees each time.
When you raised the setting on your analog thermostat for more than two degrees, you could not get the desired temperature, rather, the temperature went higher than you set it.
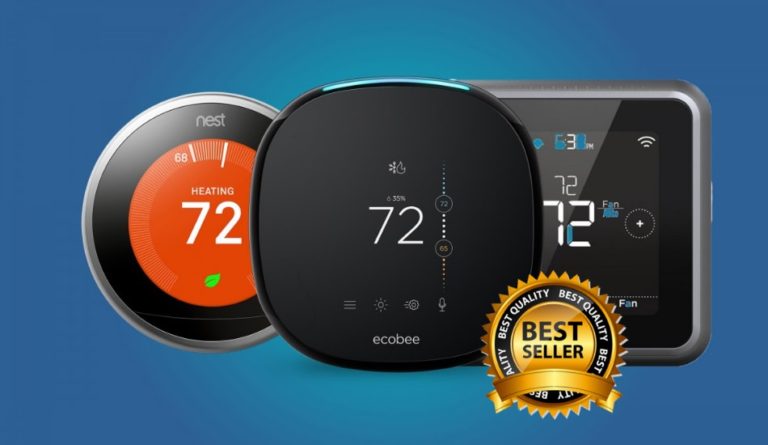
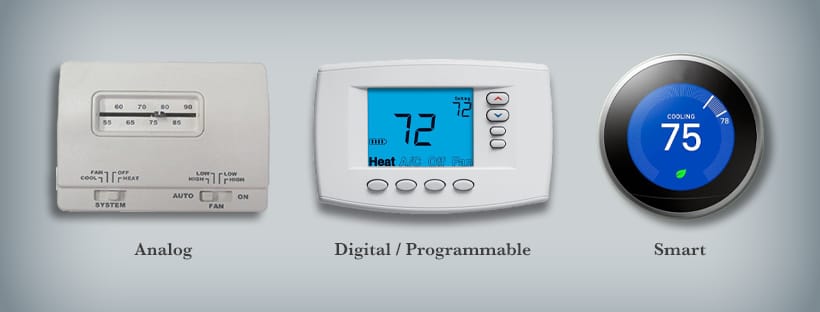
Digital thermostats have more accurate temperature sensitivity, providing your place with greater comfort and less costly utility bills. These thermostats come as either programmable or non-programmable – your decision.
Therefore, the digital thermostat is a must-have in every house. Save cash, preserve energy, go green.
Replace Analog Thermostat With Digital – Step by Step
Replacing an analog thermostat with a digital one consists of 9 simple steps that we will explain here in detail. So, let’s start!
Step 1: Carefully Choose New Thermostat
Before installing a new thermostat, you must check your home’s compatibility. Houses are wired in two ways, line voltage and low voltage, and you’ll want to buy a thermostat that will operate with your particular heating and cooling system. Therefore, choosing the right digital thermostat is important.
Step 2: Turn Off Power to The Furnace
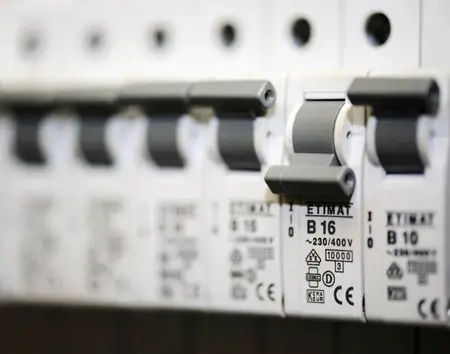
Crucial: Switch off all power to the heating and cooling system before performing any electrical work to bypass any chance of electrocution or injury. HVAC systems are powered down at the breaker box.
The power for some furnaces can be found directly on the boiler, generally with a toggle switch.
It is also a great practice to switch your current analog stat all the way down before detaching.
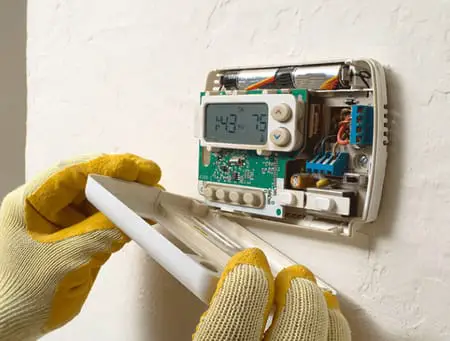
Step 3: Remove the Cover From the Current Thermostat
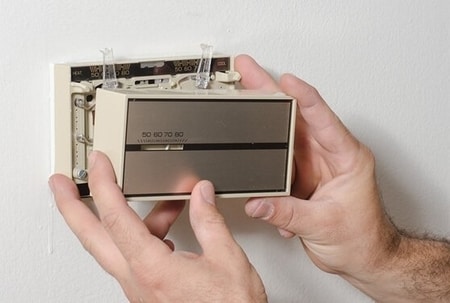
With the wires opened, you will be ready to test the wires with a circuit tester to confirm that the power is off. See the type and number of wires to discover your thermostat’s compatibility. Line thermostats will have two thick wires, while a low-voltage stat will be with anywhere from two to eight small-gauge wires.
Warning: Many older analog thermostats hold a glass tube of mercury. Mercury is a hazardous material and must be disposed of correctly.
Step 4: Mark the Wires
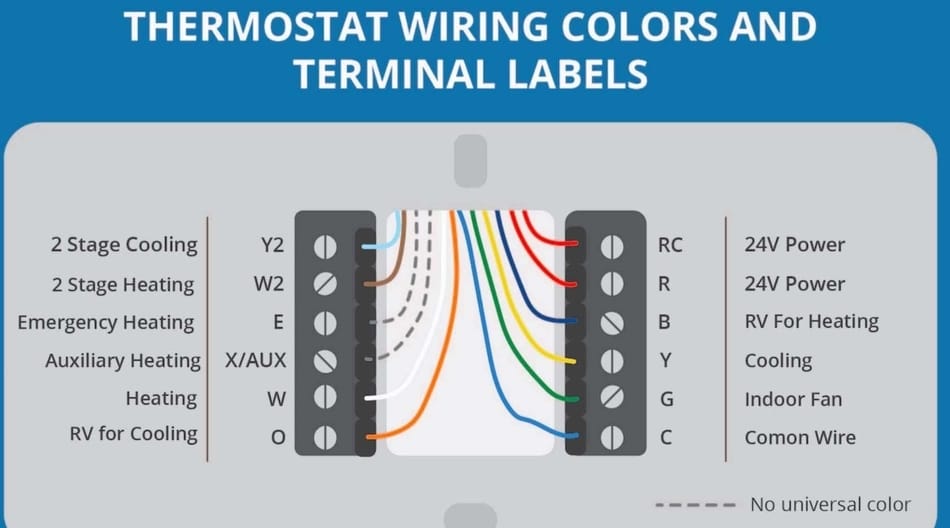
You will want to mark the wires. Take a photo of or note where the wires are connected before detaching them. This is very important! If you connect the wire incorrectly, the thermostat will not work.
Note: They are not always color-coded or identical for each thermostat. For example, if the green wire fits the G terminal, the corresponding wire must be inserted into the new stat terminal.
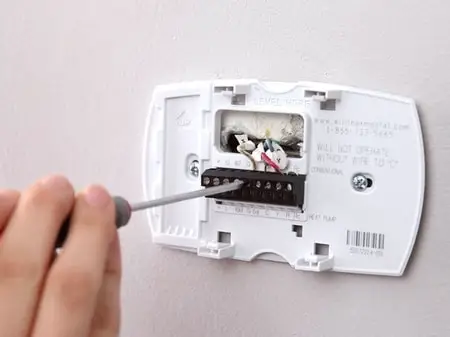
Step 5: Detach the Wires and Remove the Wall Cover
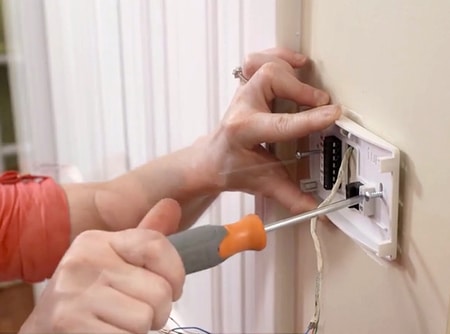
You must unscrew each wire from the terminal and also unscrew the wall mount as well. The wall mount will usually have one screw on each side. Examine whether the current drywall fasteners follow with the new thermostat wall mount. If they don’t, you must connect the drywall anchors in the proper location.
Note: I suggest you secure the loose wires using a tape so they don’t retreat into the hole.
Step 6: Mount the New Thermostat
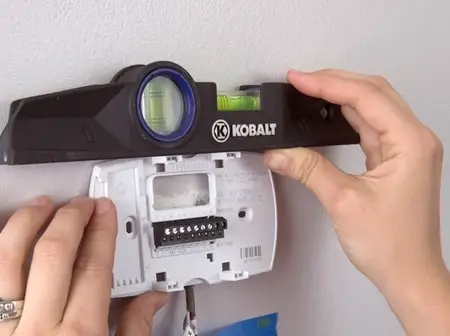
The new thermostat must line up and match with the current holes. If it does not match, you must drill new ones. Install the new thermostat flush with the wall and label the holes on the wall with a pen or marker. Make sure to use a level to be sure the mounting isn’t twisted. Look for the marked places on the wall and drill into it.
Note: The drill bit must be smaller than the screws equipped with the new thermostat. If needed, insert the drywall fasteners. After you drilled the holes, screw the new stat’s wall cover onto the wall.
Feed the wires into the hole in the thermostat’s rear, and you can rewire the new thermostat.
Step 7: Rewiring
Now, you can start attaching each wire to the proper terminal. Refer to the photo or notes you took to make sure the right wire is connected. Sometimes, you will have an additional wire you don’t need.
The extra wires are the wires that were not attached to the old thermostat. This is fine; you must not bother with the exposed wires.
Step 8: Connect the Faceplate
Today, most digital thermostats need batteries so they can operate properly. Insert the right batteries that fit, then close the faceplate onto the front of the new thermostat. Consult with the user handbook if you run into some problems connecting the faceplate.
Step 9: Test the New Thermostat
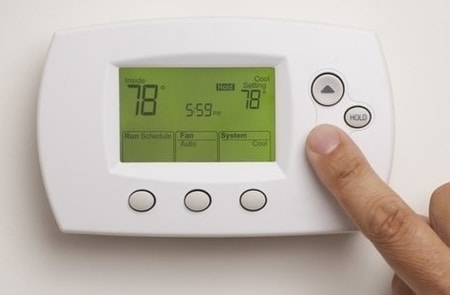
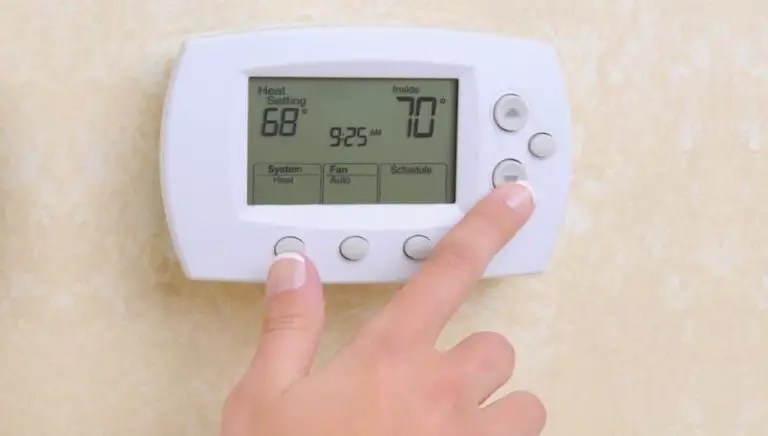
Once you have completed all the previous steps and attached your new digital thermostat, it is time to verify that the installation was done correctly. Turn on the power to the HVAC system. Switch the heating and air system back on and test the thermostat. To do this, switch it so the temperature is higher or lower than the current.
For example, if the current temperature in the room is 69°F, you might want to shift it down to 66°F. You should hear the HVAC system’s fan heat up within a few seconds. If nothing occurs, turn off the power to the system and test the wiring.
> Be sure to check the best Digital Thermostats here on Amazon! <
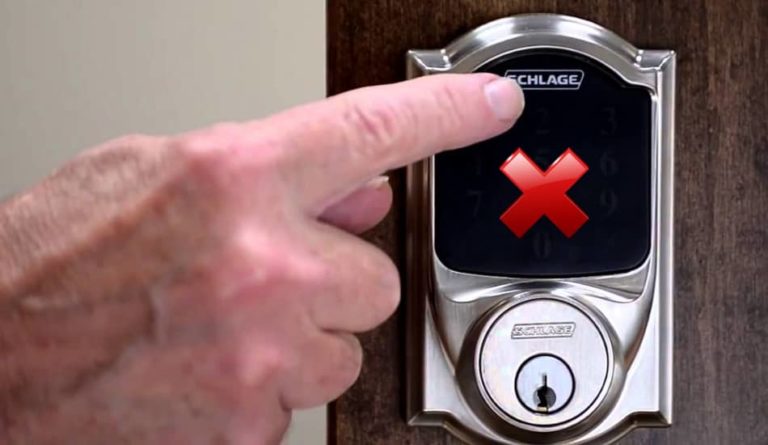
Why Is Your Analog Thermostat Not Getting Power?
Review the circuit breakers if the thermostat operates from the home’s electrical system. One of them might have fallen and cut off the power of the stat. Restart the breaker. If this doesn’t do it, then the thermostat problem could come from detached connections or different wiring issues.
How Do You Know if You Need to Replace Thermostat?
Four clues your thermostat is bad
- Clue #1: Your thermostat has no power or is unresponsive.
- Clue #2: Your heater or A/C won’t switch ON.
- Clue #3: Your A/C or heater works continuously and won’t switch OFF.
- Clue #4: Home temperature and setting are not equal.
Assume you have other cooling system maintenance completed, such as substituting the coolant and radiator hoses that have been in service for numerous years. In that case, it could be a great idea to replace the stat simultaneously for peace of mind.
How To Know If Your Digital Thermostat is Broken?
The most obvious indications of a broken thermostat are:
- The stat display is off or is non-responsive.
- Switching on the heat or AC does nothing.
- The heat or AC will turn on, but either stays on nonstop or cuts out prior to the temperature setting is how you want it.
Can Thermostat Wires Shock You?
They will not commonly shock due to the low voltage, except you have your fingers over the thermostat contacts when the relay circuit is opened. There are direct stats, like for electric heating, which works 110/225 VAC. The wires to those will be home-style wiring.
FAQ: People Also Ask
Is a digital thermostat better than an analog?
Analog thermostats are fundamental and typically more affordable. Yet, they may not display home temperatures with high precision. On the other hand, digital thermostats, while pricier, offer greater accuracy in temperature readings.
Can I install a digital thermostat myself?
If you’re content with your current position, setting up a smart thermostat on your own is relatively straightforward. Just ensure you turn off the power to the HVAC system before beginning.
Final Thoughts
Analog thermostats are cheap, but they cost you a lot of money in the long term. Therefore, replacing them with digital or smart thermostats with many advantages is advisable. You need to pay attention to being SURE to turn off the electricity in your house during the replacement process so that something does not go wrong. With these instructions, I hope you will successfully replace your old analog thermostat and enjoy the new one.